
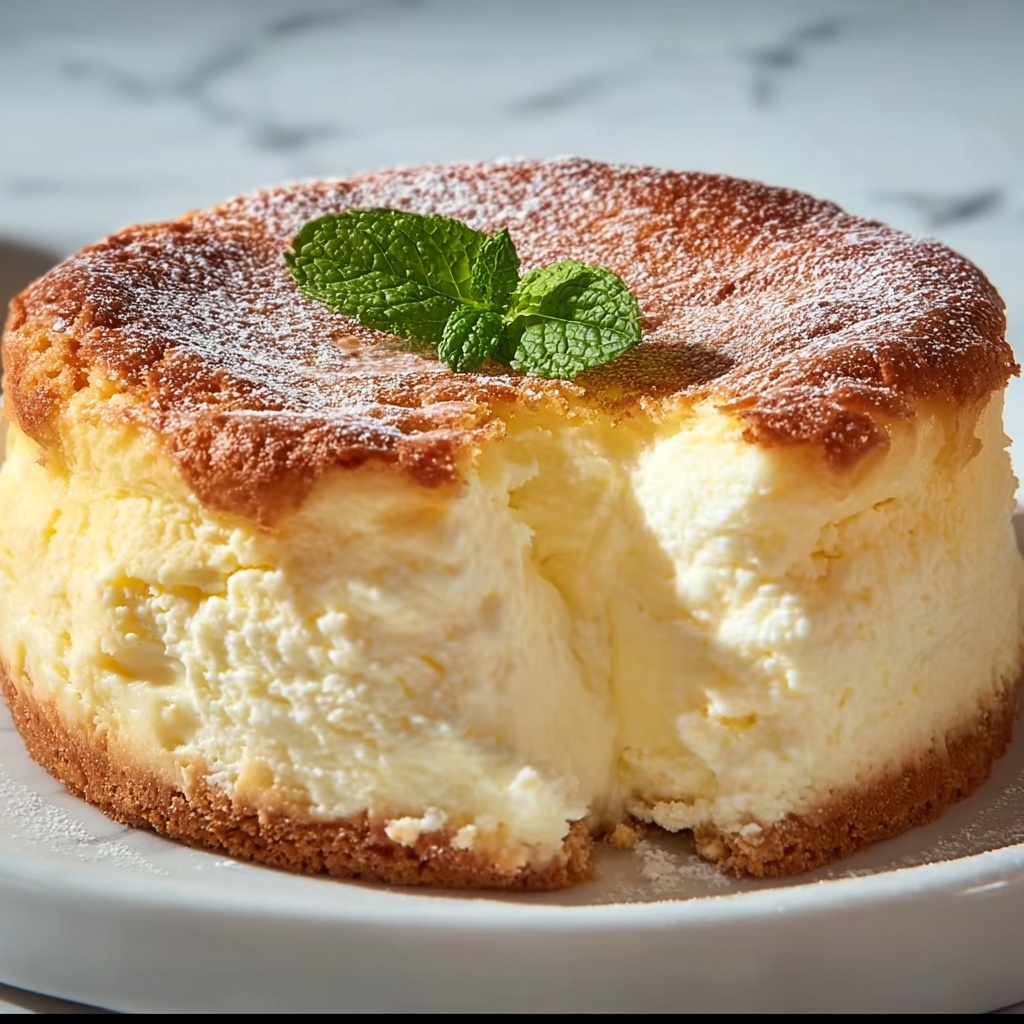
If you’re craving a dessert that feels like biting into a soft, airy cloud, then this Light Fluffy Yogurt Cloud Cake Recipe is exactly what you need. This Japanese-inspired treat combines the tangy creaminess of Greek yogurt with the ethereal lightness of whipped egg whites to create a delicate cake that’s both gluten-free and irresistibly fluffy. It’s simple yet elegant—a perfect dessert to impress friends or to brighten up an everyday moment with a little slice of heaven.
Ingredients You’ll Need
The beauty of this recipe lies in its simplicity. Each ingredient is essential, coming together to balance flavor, texture, and that signature airy softness that makes this cake so delightful.
- 3/4 cup plain Greek yogurt: Provides a creamy tang and moist texture that keeps the cake tender.
- 4 large eggs (separated): Egg yolks add richness, while the whipped whites create the signature fluffiness.
- 1/4 cup granulated sugar: Sweetens without overpowering, also helps stabilize the egg whites.
- 1 1/2 tablespoons cornstarch: Acts as a gentle thickener to give structure without heaviness.
- 1 teaspoon lemon juice: Enhances the egg whites’ stability and adds a fresh, subtle zing.
- 1 teaspoon vanilla extract: Adds warmth and depth to the flavor.
- Powdered sugar (optional, for dusting): A light dusting for that elegant finish.
- Fresh berries (optional, for serving): Adds a pop of color and a juicy contrast that pairs perfectly with the cake’s mild tang.
How to Make Light Fluffy Yogurt Cloud Cake Recipe
Step 1: Prepare Your Pan and Oven
Start by preheating your oven to 325°F (160°C). Line the bottom and sides of a 6-inch or 7-inch round cake pan with parchment paper. This prevents sticking and ensures an even bake, which is crucial for a delicate cake like this.
Step 2: Mix the Yogurt Batter
In a medium bowl, whisk together the egg yolks, Greek yogurt, vanilla extract, and cornstarch until the mixture is smooth and free of lumps. This creates the creamy base of your cake, rich with flavor and the silky texture of yogurt.
Step 3: Whip the Egg Whites
In a separate clean bowl, use an electric mixer to beat the egg whites and lemon juice until soft peaks form. Gradually add the granulated sugar while continuing to beat until stiff peaks develop. This is the magic step that helps create the cake’s iconic fluffiness—beat those whites just right for a cloud-light texture!
Step 4: Fold and Combine Batter
Carefully fold the beaten egg whites into the yogurt mixture in three parts. Use gentle, sweeping motions to keep as much air in the batter as possible, which will give the cake its signature lift and tenderness.
Step 5: Bake in a Water Bath
Pour the batter into your prepared pan and gently tap it on the counter to release any large air bubbles. Place the cake pan inside a larger baking dish and fill the outer dish with hot water to create a water bath. Bake for 45 to 50 minutes until the top turns a light golden color and the center is set but still jiggly. This method ensures even cooking and a moist crumb.
Step 6: Cool Gradually
Once baking is complete, turn off the oven and leave the door slightly open. Let your cake cool inside for about 15 minutes. This slow cooling prevents cracks and keeps the cake soft and beautiful.
Step 7: Chill and Serve
Remove the cake from the oven and allow it to cool completely at room temperature. Then, pop it into the fridge for at least one hour to chill thoroughly. Dust with powdered sugar and garnish with fresh berries if you like. And voilà, your Light Fluffy Yogurt Cloud Cake Recipe is ready to enjoy!
How to Serve Light Fluffy Yogurt Cloud Cake Recipe
Garnishes
A simple dusting of powdered sugar adds a delicate sweetness and an elegant look. Fresh berries, such as blueberries, raspberries, or sliced strawberries, offer a beautiful color contrast and a friendly tartness that complements the cake’s mild tang.
Side Dishes
This cake pairs wonderfully with a cup of herbal tea or a light coffee. For an extra indulgent touch, serve with a dollop of whipped cream or a drizzle of honey. The subtle flavors won’t overshadow the airy texture but will instead elevate the entire experience.
Creative Ways to Present
For a festive touch, try layering thin slices of the cake with fruit and whipped cream in a clear glass to create a dreamy parfait. Alternatively, lightly toast some almond flakes and sprinkle them on top for a crunchy contrast that’s as visually appealing as it is delicious.
Make Ahead and Storage
Storing Leftovers
Once chilled, store any leftover cake in an airtight container in the refrigerator. It will keep well for up to 3 days while maintaining its soft texture and lovely flavor.
Freezing
This cake is not ideal for freezing because of its delicate texture, which can become dense or watery upon thawing. For best results, enjoy fresh or refrigerated.
Reheating
Since this cake is best served chilled, reheating is not recommended. If you prefer it slightly warmer, simply let it sit at room temperature for 20-30 minutes before serving.
FAQs
Can I use flavored yogurt instead of plain Greek yogurt?
It’s best to stick with plain Greek yogurt to maintain the cake’s subtle, balanced flavor. Flavored yogurts may add unwanted sweetness or texture changes.
Why is the water bath necessary for baking this cake?
The water bath ensures gentle, even heat around the cake, preventing cracks and keeping it moist and tender—key for achieving that cloud-like texture.
Can I make this recipe dairy-free?
Substituting dairy-free yogurt may affect texture and flavor, but you can experiment with coconut or almond milk yogurt. Just be mindful that the cake may turn out slightly denser.
How do I know when the cake is done?
The top should be lightly golden, and the center should feel set but still jiggle slightly when shaken gently. Overbaking can dry it out, so watch carefully near the end of the baking time.
Is this cake suitable for special diets?
Yes! This Light Fluffy Yogurt Cloud Cake Recipe is gluten-free and vegetarian, making it a wonderful choice for those with dietary restrictions.
Final Thoughts
There’s something truly magical about mastering a Light Fluffy Yogurt Cloud Cake Recipe that feels both indulgent and wholesome. It’s a delicate treat that brings smiles and warm compliments with every bite. Whether you’re celebrating a special occasion or just want to treat yourself, this cake is bound to become a cherished favorite in your dessert repertoire. Give it a try—you’ll be amazed at how such simple ingredients can produce a slice of pure joy!
Print
Light Fluffy Yogurt Cloud Cake Recipe
- Prep Time: 15 minutes
- Cook Time: 50 minutes
- Total Time: 1 hour 5 minutes (plus additional 1 hour chilling)
- Yield: 6 servings
- Category: Dessert
- Method: Baking
- Cuisine: Japanese-Inspired
- Diet: Gluten Free, Vegetarian
Description
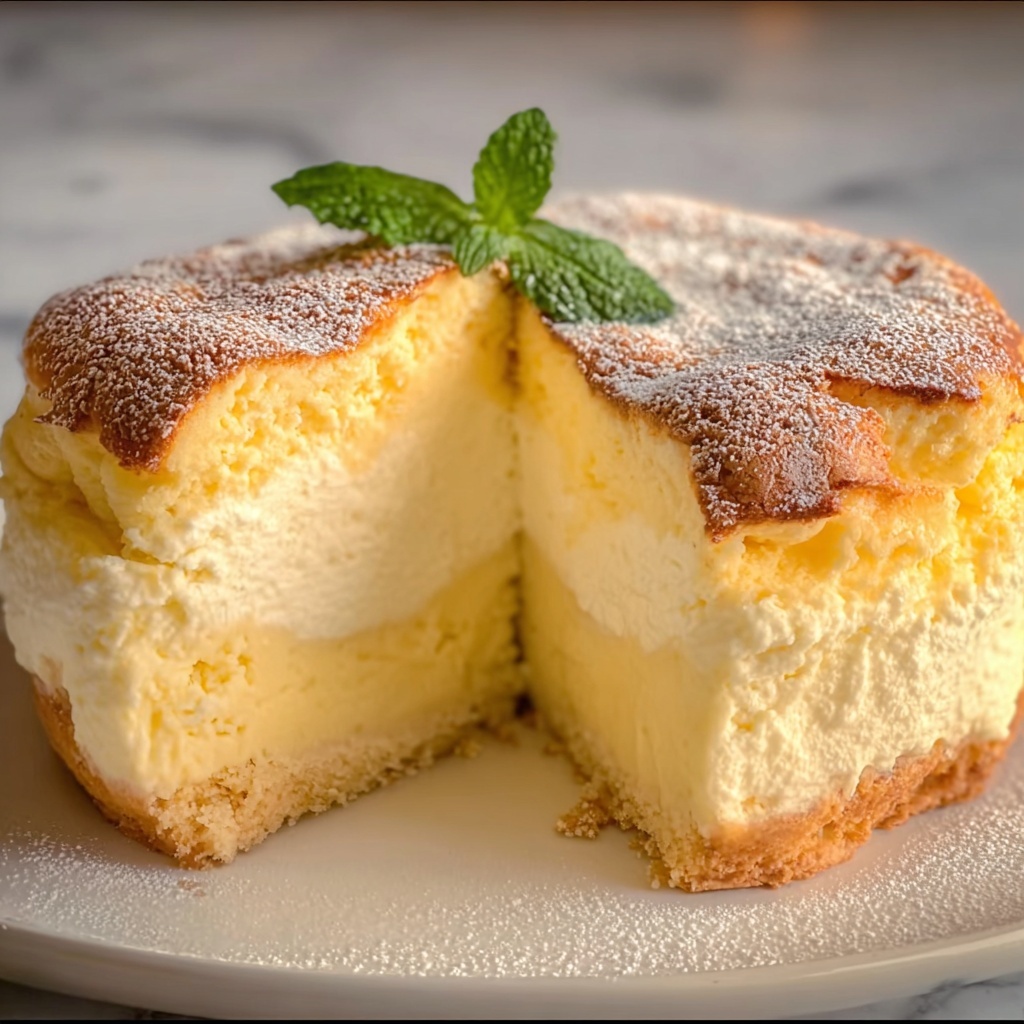
This Light Fluffy Yogurt Cloud Cake is a delicate, Japanese-inspired dessert featuring a soft and airy texture achieved by folding whipped egg whites into a smooth yogurt batter. With a subtle sweetness and refreshing hints of vanilla and lemon, it’s perfect for those seeking a light yet satisfying treat. Dust with powdered sugar and serve with fresh berries for an elegant finish.
Ingredients
Yogurt Cake Base
- ¾ cup plain Greek yogurt
- 4 large eggs (separated)
- ¼ cup granulated sugar
- 1½ tablespoons cornstarch
- 1 teaspoon lemon juice
- 1 teaspoon vanilla extract
For Serving (Optional)
- Powdered sugar (for dusting)
- Fresh berries (such as strawberries, blueberries, or raspberries)
Instructions
- Preheat and Prepare Pan: Preheat your oven to 325°F (160°C). Line the bottom and sides of a 6-inch or 7-inch round cake pan with parchment paper to prevent sticking and ensure easy removal.
- Mix Yogurt Batter: In a medium bowl, whisk together the egg yolks, plain Greek yogurt, vanilla extract, and cornstarch until the mixture is smooth and free of lumps. This forms the rich base of your cake.
- Whip Egg Whites: In a separate clean bowl, use an electric mixer to beat the egg whites with lemon juice until soft peaks form. Gradually add the granulated sugar while continuing to beat until stiff peaks form. This step is crucial to achieving the light, airy texture.
- Fold Egg Whites into Batter: Gently fold the beaten egg whites into the yogurt batter in three additions. Use a spatula and fold carefully to maintain the airiness and prevent deflating the mixture.
- Prepare Water Bath and Bake: Pour the batter into the prepared pan and lightly tap the pan to release any trapped air bubbles. Place the cake pan inside a larger baking dish. Pour hot water into the outer dish to create a water bath, helping the cake bake evenly and stay moist. Bake for 45–50 minutes, until the top is lightly golden and the center is set.
- Cool in Oven: Turn off the oven and leave the door slightly ajar. Allow the cake to cool inside for 15 minutes to prevent cracking by gently lowering the temperature.
- Chill and Serve: Remove the cake from the oven and cool completely at room temperature. Then chill in the fridge for at least 1 hour before serving. Dust with powdered sugar and top with fresh berries if desired for a beautiful presentation.
Notes
- Make sure the egg whites are beaten to stiff peaks for the fluffiest texture and best rise.
- Use full-fat Greek yogurt for optimal flavor and cake structure.
- Be gentle when folding the egg whites to retain airiness and achieve the cloud-like texture.
- The water bath ensures even baking and prevents the cake from drying out or cracking.
- Chilling the cake before serving enhances the texture and flavor.


