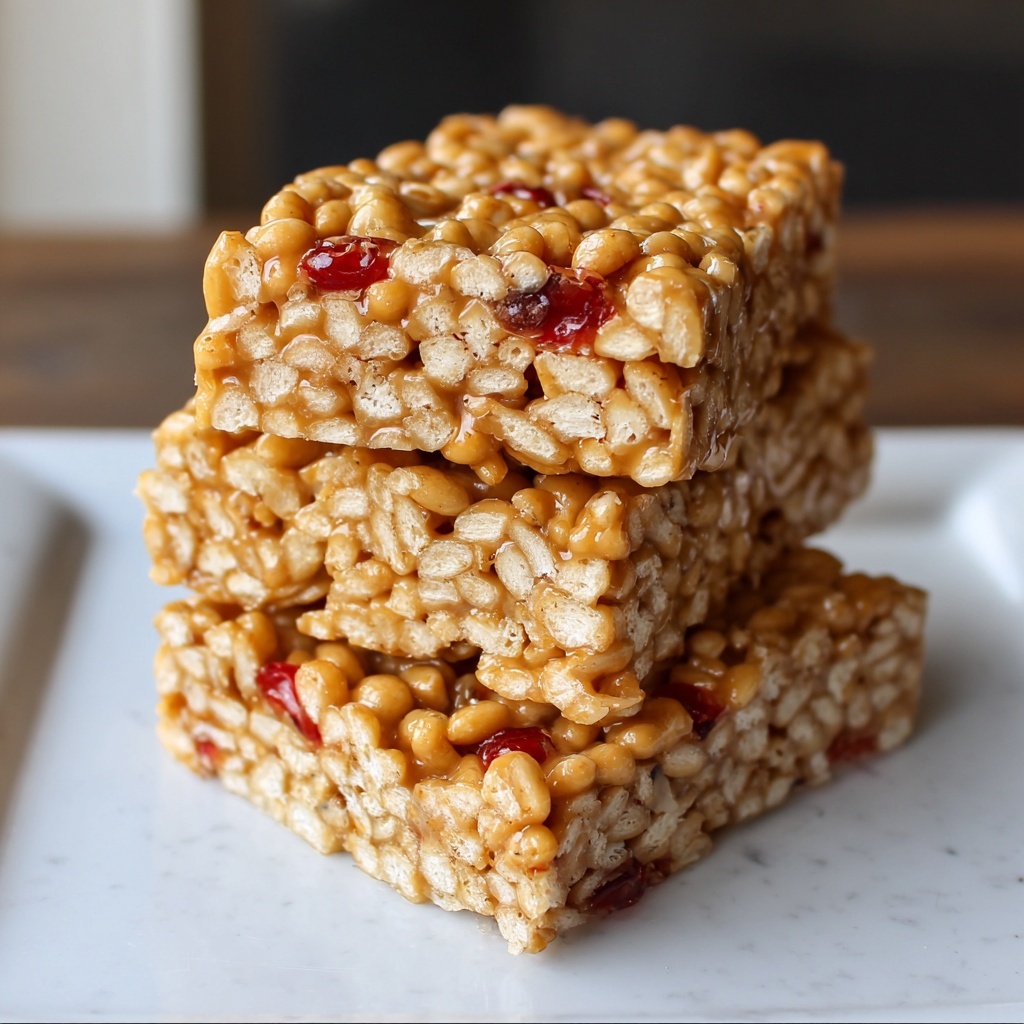
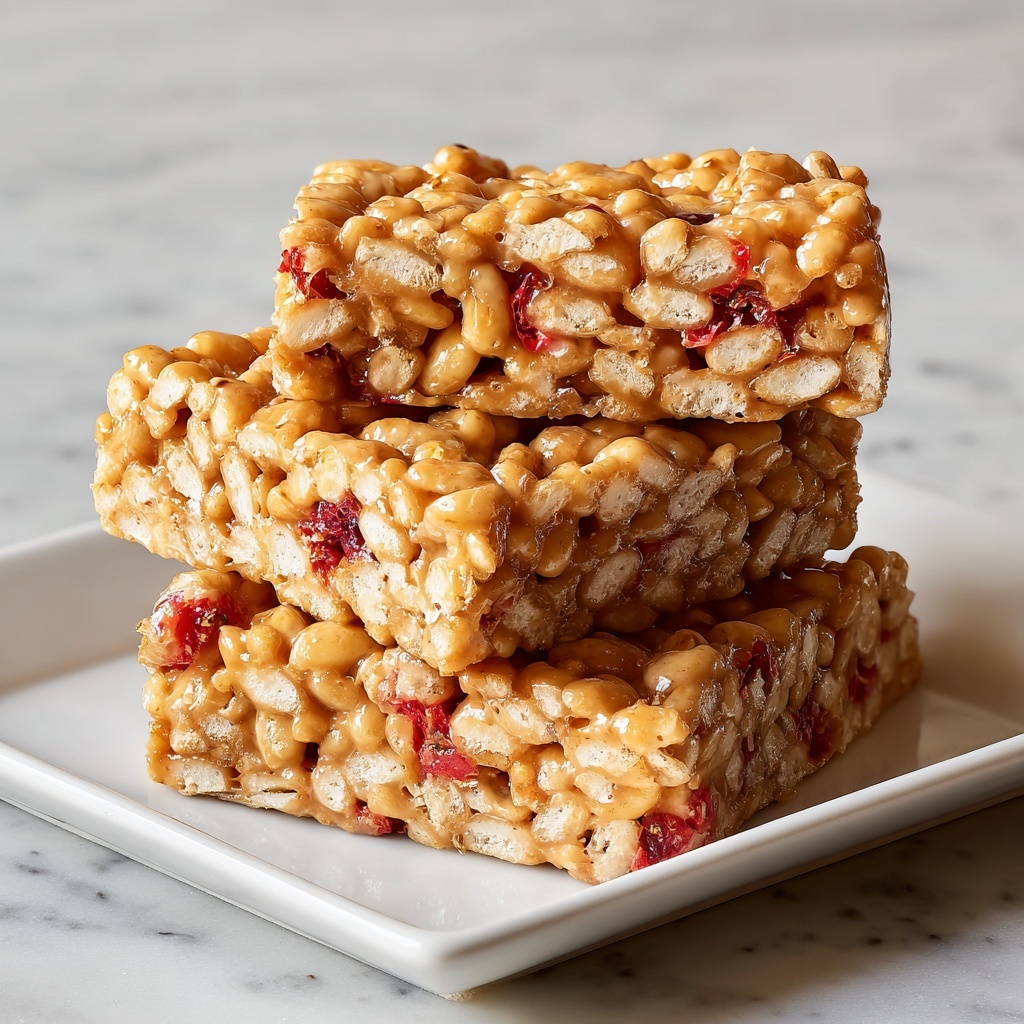
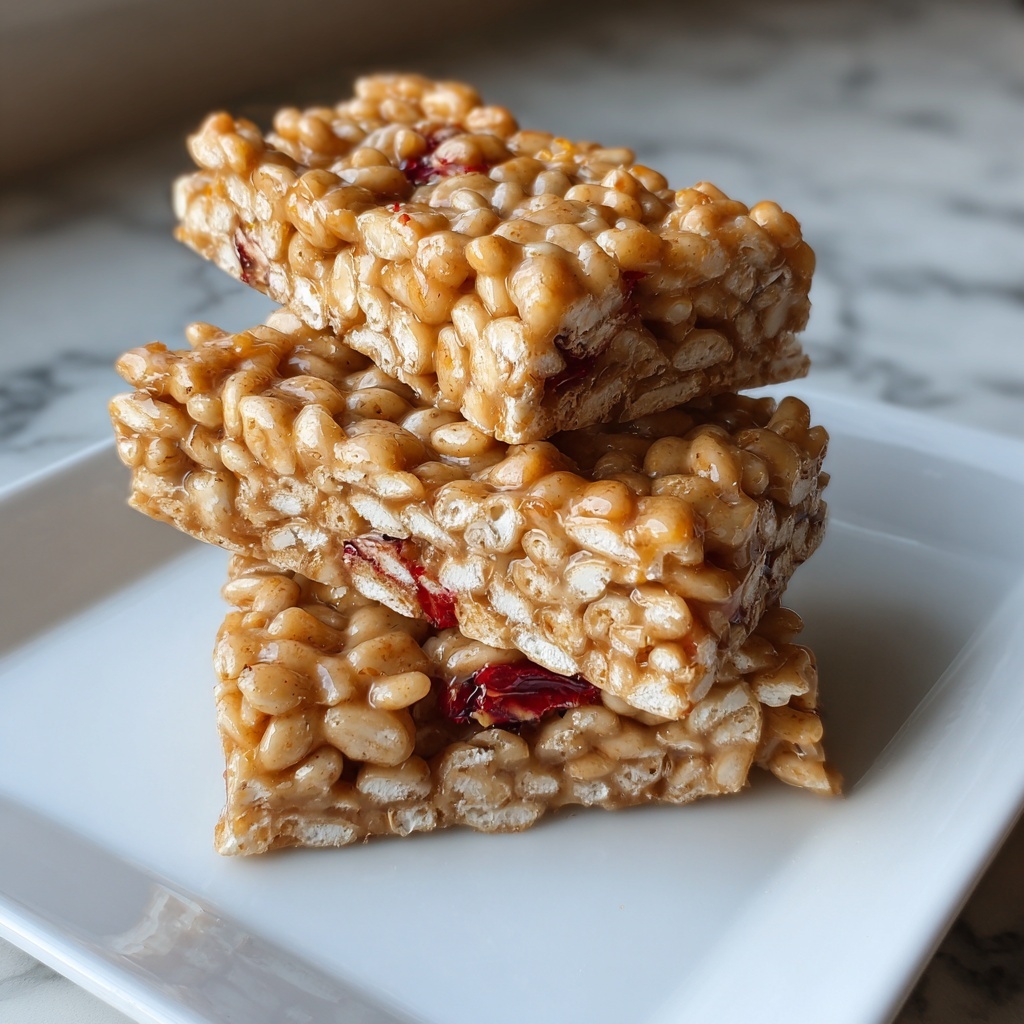
If you’ve ever wished for a snack that’s both wholesome and irresistibly tasty, you are going to adore this Homemade Cereal Bars Recipe. It takes a handful of simple, everyday ingredients and transforms them into bars that strike the perfect balance between chewy, crunchy, and sweet. These bars are ideal for a quick breakfast on the run, a post-workout boost, or a kid-friendly treat that you can feel good about. From the satisfying crispiness of rice cereal to the rich warmth of peanut butter, every bite delivers a comforting mix of flavors and textures that makes homemade feel oh-so-special.
Ingredients You’ll Need
Gathering the right ingredients is the first joyful step to making these delicious bars. Each item plays a vital role—from lending structure and crunch to imparting sweetness and depth of flavor. Plus, they’re all pantry-friendly staples, which means whipping up a batch is easier than you think.
- 3 cups crispy rice cereal or mixed whole-grain cereal: provides the essential crunch and body that makes these bars delightful.
- 1 cup rolled oats: adds a hearty texture and wholesome nutrition to keep you energized.
- ½ cup honey or maple syrup: acts as a natural, smooth sweetener that binds the bars together with a subtle floral note.
- ½ cup peanut butter or almond butter: delivers creamy richness and a satisfying dose of protein and healthy fats.
- 1 teaspoon vanilla extract: enhances the flavors with warm, fragrant undertones.
- ¼ teaspoon salt: balances the sweetness and brings out the depth of all ingredients.
- Optional: ¼ cup mini chocolate chips or dried fruit: adds playful bursts of extra sweetness and texture.
How to Make Homemade Cereal Bars Recipe
Step 1: Prepare Your Pan
Start by lining an 8×8-inch baking dish with parchment paper. Be sure to leave extra paper hanging over the edges; this clever step makes it a breeze to lift the bars out once they’re set, avoiding any sticky mess or crumbled edges.
Step 2: Combine Dry Ingredients
In a large bowl, mix together your crispy rice cereal and rolled oats. This combination guarantees a lovely contrast in texture and a wholesome base for your bars.
Step 3: Make the Binding Mixture
On low heat, gently warm the honey (or maple syrup) and peanut butter in a small saucepan. Stir continuously until the mixture is completely smooth and glossy—this is what will hold it all together perfectly. Remove from heat and stir in the vanilla extract and salt, deepening the flavor profile beautifully.
Step 4: Combine Wet and Dry Mixes
Pour the warm peanut butter mixture over the cereal and oats, folding everything together evenly. If you’re feeling adventurous, fold in mini chocolate chips or dried fruit here for extra bursts of flavor that your taste buds will thank you for.
Step 5: Press Into Pan
Transfer the mixture to your prepared dish and press it down firmly using the back of a spoon or spatula. You want an even, compact layer that will hold together nicely once cooled.
Step 6: Chill and Cut
Pop the dish into the refrigerator for at least 1 hour, allowing the bars to firm up. Once set, use the parchment paper edges to lift the whole block out. Cut into 12 equal-sized bars, and just like that, you have a batch of homemade goodness to enjoy!
How to Serve Homemade Cereal Bars Recipe
Garnishes
While these bars are delectable on their own, topping them with a light drizzle of melted chocolate or a sprinkle of chopped nuts can add an extra layer of indulgence. Fresh berries on the side also brighten things up with a refreshing contrast.
Side Dishes
Pair your homemade cereal bars with a cup of yogurt or a glass of fresh cold milk to make a complete and satisfying snack. A piece of fruit like an apple or banana complements the bars perfectly, giving both sweetness and vitamins alongside the hearty bars.
Creative Ways to Present
Wrap the bars individually in parchment paper tied with twine for a charming grab-and-go snack. You can also cut them into bite-sized pieces and serve on a party platter with other finger foods for a wholesome, crowd-pleasing appetizer.
Make Ahead and Storage
Storing Leftovers
Keep these homemade cereal bars fresh by storing them in an airtight container at room temperature. They stay perfectly chewy and crisp for about 4 to 5 days, making them a great option for meal prep or busy mornings.
Freezing
If you want to extend their shelf life, wrap each bar individually and freeze them in a sealed container or freezer bag. When stored this way, they maintain their taste and texture for up to 2 months.
Reheating
Thawed bars can be eaten cold or warmed slightly in the microwave for 10 to 15 seconds if you prefer a softer texture. Just be careful not to overheat, or they might get too melty.
FAQs
Can I use other nut butters instead of peanut butter?
Absolutely! Almond butter, cashew butter, or even sunflower seed butter work wonderfully and bring their unique flavor profiles to your Homemade Cereal Bars Recipe.
Are there vegan options for this recipe?
Yes, just swap honey for maple syrup and ensure your cereal is free from animal-derived ingredients. This way, your homemade bars remain delicious and fully plant-based.
What can I do if the mixture is too sticky to press?
Chill the mixture for 10 to 15 minutes in the fridge before pressing it into the pan. This usually makes it easier to handle and helps it set better.
Can I add protein powder to boost nutrition?
Definitely! Adding a scoop of your favorite protein powder can make these bars an even more satisfying snack or post-workout treat. Just mix it with the dry ingredients before combining with the wet.
How do I keep the bars from falling apart?
The key is heating the honey and nut butter until fully combined and smooth, which helps bind all the ingredients. Also, press the mixture down firmly into your pan and let it chill long enough to set properly.
Final Thoughts
I honestly can’t recommend this Homemade Cereal Bars Recipe enough if you want a snack that feels like a treat but supports your busy lifestyle. They’re easy to make, endlessly customizable, and so rewarding to have on hand. Give it a try—you might just find yourself making them again and again!
Print
Homemade Cereal Bars Recipe
- Prep Time: 10 minutes
- Cook Time: 10 minutes
- Total Time: 1 hour 10 minutes
- Yield: 12 bars
- Category: Snack
- Method: Stovetop
- Cuisine: American
- Diet: Vegetarian
Description
These homemade cereal bars are a delicious and wholesome snack option, combining crispy rice cereal and rolled oats with a natural sweetener and nut butter binder. Easy to make and customizable with chocolate chips or dried fruit, these bars are perfect for a quick breakfast or an on-the-go treat.
Ingredients
Dry Ingredients
- 3 cups crispy rice cereal or mixed whole-grain cereal
- 1 cup rolled oats
- ¼ teaspoon salt
Wet Ingredients
- ½ cup honey or maple syrup
- ½ cup peanut butter or almond butter
- 1 teaspoon vanilla extract
Optional Add-ins
- ¼ cup mini chocolate chips or dried fruit
Instructions
- Prepare Baking Dish: Line an 8×8-inch baking dish with parchment paper, leaving some extra paper over the edges for easy removal of the bars later.
- Mix Dry Ingredients: In a large bowl, combine the crispy rice cereal and rolled oats. Set aside this mixture until ready to combine with the wet ingredients.
- Heat Wet Ingredients: Place honey (or maple syrup) and peanut butter (or almond butter) in a small saucepan over low heat. Stir continuously until the mixture becomes smooth and well blended. Remove the saucepan from heat and stir in the vanilla extract and salt to enhance flavor.
- Combine Mixtures: Pour the warm peanut butter mixture over the cereal and oats. Stir gently but thoroughly until all dry ingredients are evenly coated. If using, fold in the mini chocolate chips or dried fruit carefully to avoid breaking them up.
- Press the Mixture: Firmly press the combined mixture into the prepared baking dish using the back of a spoon or a spatula, making sure to create an even and compact layer to help the bars hold together.
- Chill Bars: Place the dish in the refrigerator and chill for at least 1 hour or until the mixture is firm and set. Once firm, lift the mixture from the dish using the overhanging parchment paper and cut into 12 equal bars for serving.
Notes
- For a nut-free version, substitute peanut butter with sunflower seed butter or tahini.
- You can customize the bars by adding nuts, seeds, or dried fruits of your choice for extra texture and flavor.
- Store the bars in an airtight container in the refrigerator for up to one week for best freshness.
- For a sweeter bar, increase honey or maple syrup by 2 tablespoons if desired.


