If you’ve ever dreamed of enjoying a luscious, creamy treat without the fuss of fancy equipment, you’re in for a real delight. This Easy Homemade Chocolate Ice Cream Bar Without Machine Recipe brings all the rich, chocolatey goodness right into your kitchen with simple ingredients and no ice cream maker required. It’s smooth, decadent, and perfect for impressing friends, surprising family, or just treating yourself after a long day. Trust me, once you try this, store-bought bars will seem so last season.
Ingredients You’ll Need
Gathering the right ingredients might just be the easiest step, but each one plays a starring role in creating that perfect balance of texture and flavor. From the rich cocoa powder to the creamy heavy cream, everything comes together to make this ice cream bar irresistibly smooth and chocolaty.
- 160 g Heavy Cream: The secret to a rich and velvety texture that makes every bite melt in your mouth.
- 110 g Sweetened Condensed Milk: Adds sweetness and a wonderfully creamy base without needing refined sugar.
- 30 g Cocoa Powder (dark, unsweetened): Delivers that deep, intense chocolate flavor that chocolate lovers crave, choose a quality brand like Callebaut for best results.
- 250 g Milk Chocolate (callets): For the heavenly coating, use a smooth and melt-friendly chocolate like Callebaut to ensure a perfect shell.
- 40 g Almonds (chopped and roasted, optional): Adds a lovely crunch and subtle nuttiness, giving the bar a delightful contrast without overpowering the chocolate.
How to Make Easy Homemade Chocolate Ice Cream Bar Without Machine Recipe
Step 1: Combine Cocoa and Condensed Milk
Start by sifting the cocoa powder into the sweetened condensed milk to avoid clumps and ensure a silky smooth blend. Mix gently just until combined – no vigorous stirring needed because you want to keep it light and airy for a creamy texture.
Step 2: Whip the Heavy Cream
Using an electric hand mixer, whip your heavy cream until it reaches early hard peaks. This step is crucial because the whipped cream adds volume, making the ice cream bar fluffy without any machines.
Step 3: Fold the Cream Into the Cocoa Mixture
Now comes the delicate part – carefully fold the whipped cream into your cocoa and condensed milk mixture with a rubber spatula. Take your time to gently combine them, preserving the airy texture that will make your bars irresistible.
Step 4: Fill the Ice Cream Moulds
Use a spoon to fill each of your four ice cream mould cavities with the mixture. Once filled, tap the moulds gently on the kitchen counter to release any trapped air bubbles, then press a stick into each one for easy handling later.
Step 5: Smooth the Surface
With an offset spatula, smooth the tops of your filled moulds so your ice cream bars will have a clean, professional appearance once frozen.
Step 6: Freeze for 6 Hours
Pop your ice cream moulds into the freezer and let them chill undisturbed for at least six hours. This slow freezing step is essential to create that perfect firm but creamy bite.
Step 7: Melt the Chocolate Coating
When your bars are ready, melt the milk chocolate gently in the microwave, stirring every 30 seconds. This careful melting ensures a smooth coating without any burns or graininess.
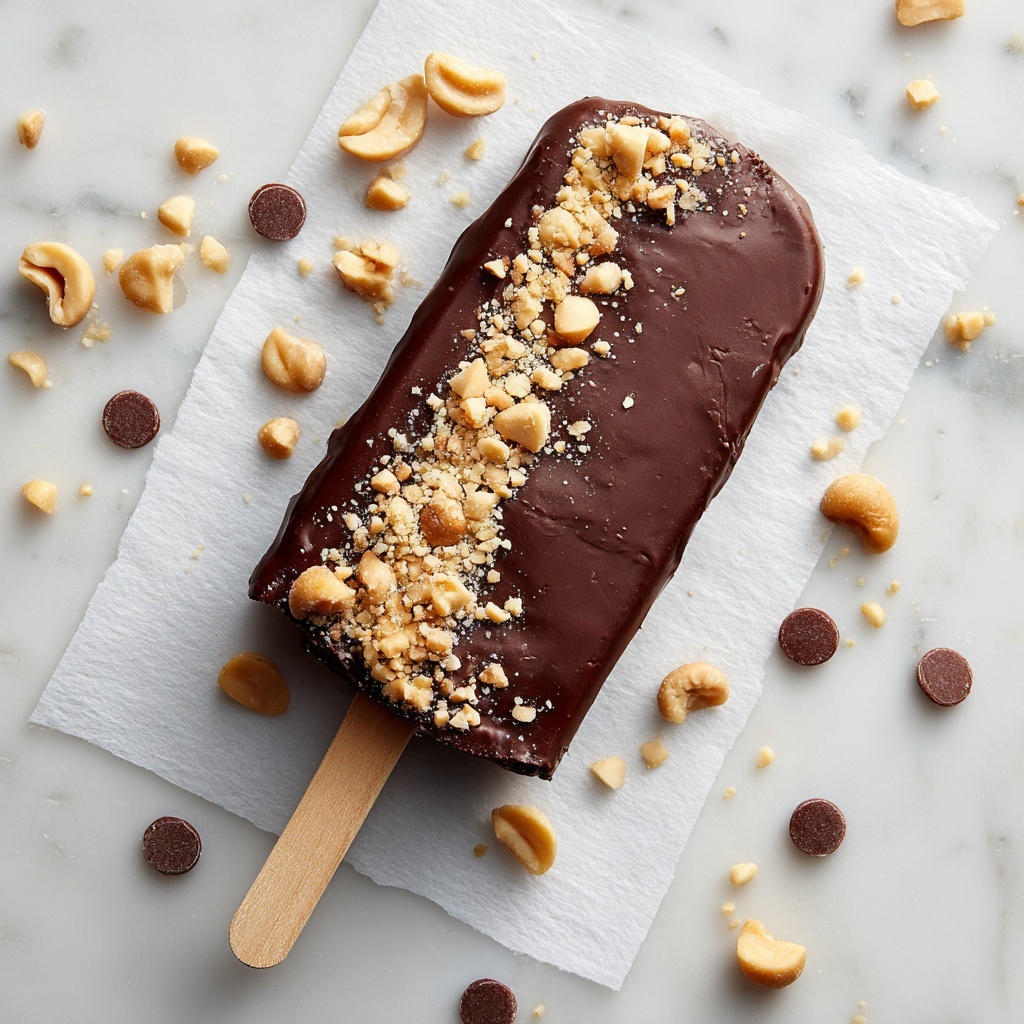
Step 8: Add Optional Roasted Almonds
If you love a bit of crunch, toss your chopped roasted almonds into the melted chocolate now, giving your final coat a delightful nutty twist.
Step 9: Prepare for Dipping
Pour the melted chocolate (with or without almonds) into a tall and narrow glass, perfect for dipping. Then gently unmould your ice cream bars – be careful to keep them intact!
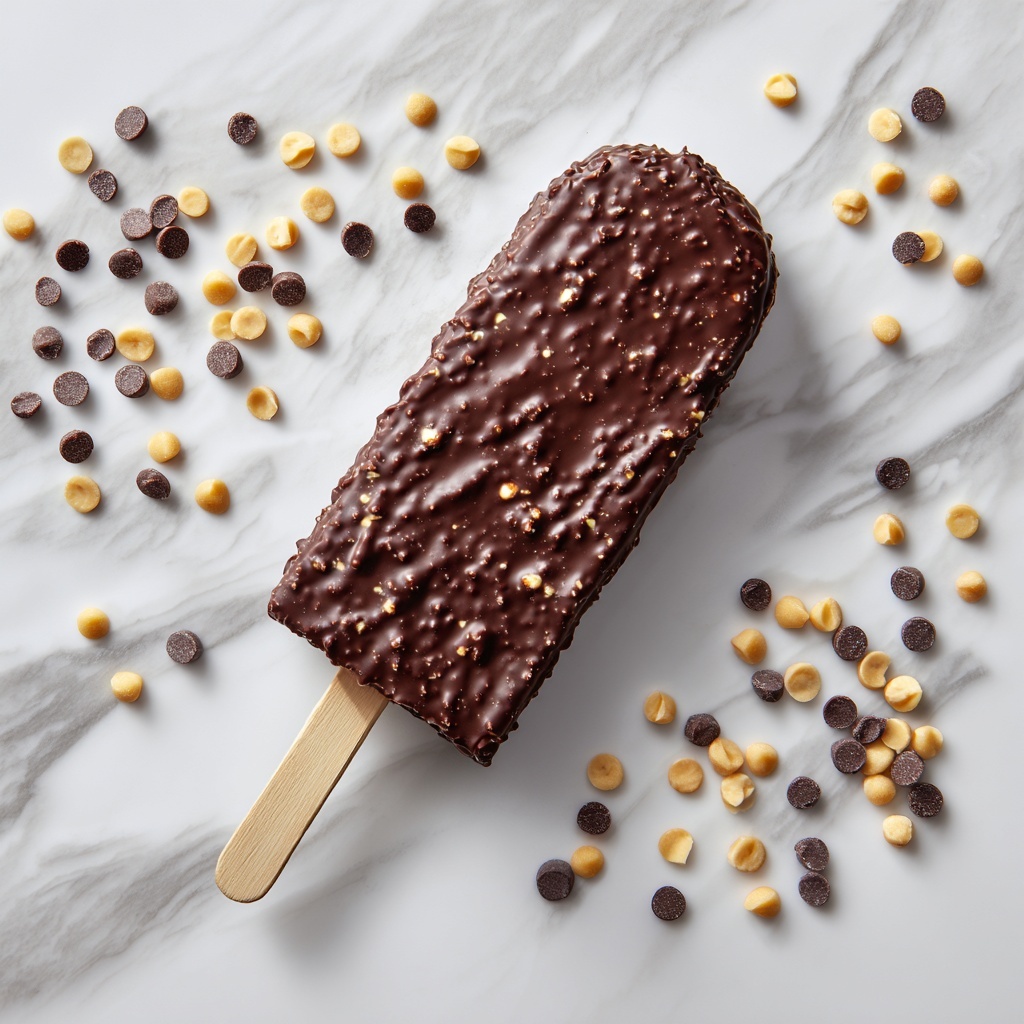
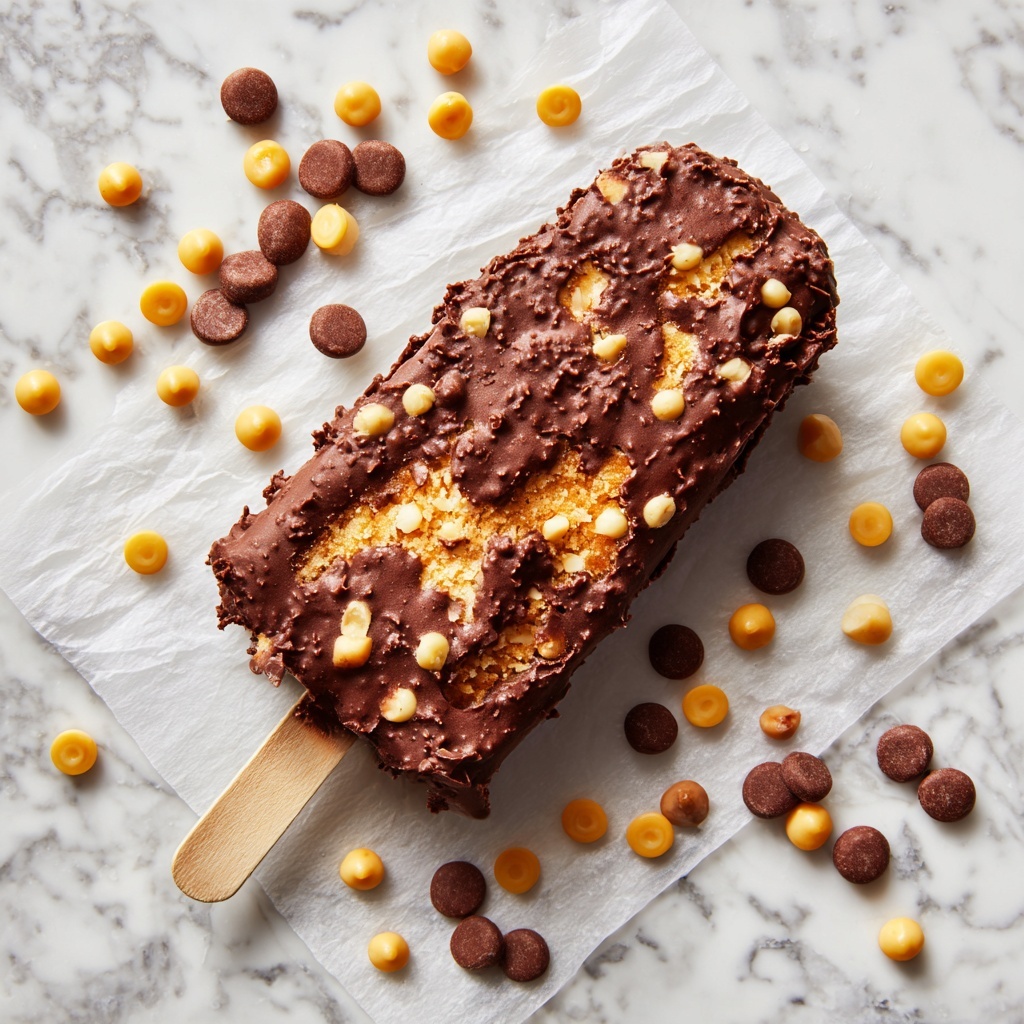
Step 10: Coat the Ice Cream Bars
Holding the stick, immediately dip each bar into the melted chocolate. Give it a gentle shake so the chocolate coating spreads evenly without becoming too thick. The magic here is that the chocolate will set quickly, creating a shell that’s crisp yet supple.
Step 11: Store and Enjoy
Once dipped, the chocolate coating sets in about 30 to 60 seconds at room temperature. Transfer your bars back to the freezer to keep them perfectly chilled, and get ready to savor your homemade masterpiece!
How to Serve Easy Homemade Chocolate Ice Cream Bar Without Machine Recipe
Garnishes
Top your plated bars with a sprinkle of shredded coconut, a drizzle of caramel sauce, or crushed nuts to add layers of flavor and texture that complement the chocolate beautifully.
Side Dishes
Pair these decadent bars with fresh berries or a simple fruit compote for a refreshing contrast, or serve alongside a warm espresso or rich hot chocolate to elevate your dessert experience even further.
Creative Ways to Present
Try serving your bars on wooden boards with parchment paper for a rustic vibe, or individually wrap them in colorful parchment tied with a ribbon to make them perfect for gifting or party favors.
Make Ahead and Storage
Storing Leftovers
If you have any leftover bars (which is rare!), store them in an airtight container in the freezer to protect them from absorbing any odors and ensure they stay fresh and chocolatey.
Freezing
These bars freeze beautifully due to their rich, creamy base and firm chocolate shell. Always keep them covered or in a sealed container to maintain their texture and prevent freezer burn.
Reheating
Since these are frozen treats, reheating is not recommended. Instead, let them sit for a few minutes out of the freezer if they become too hard before enjoying to soften to the perfect bite.
FAQs
Can I use a different type of chocolate for the coating?
Absolutely! Feel free to experiment with dark or white chocolate depending on your taste preference. Just make sure it’s good quality and melts smoothly for the best coating.
Do I need to use an electric mixer to whip the cream?
An electric mixer makes the process quicker and easier, but if you’re up for a bit of an arm workout, you can whip the cream by hand using a whisk. It just takes a little more elbow grease and patience.
Is it necessary to sift the cocoa powder?
Sifting helps eliminate lumps and keeps the mixture smooth. Although skipping this step won’t ruin your ice cream bars, the texture might be a little less silky.
Can I make this recipe dairy-free?
While this recipe relies on dairy for its creamy texture, you can experiment with coconut cream and sweetened condensed coconut milk as substitutes. Results may vary but it’s a fun twist to try!
How long can I store these bars in the freezer?
For the best flavor and texture, enjoy your bars within 2 weeks. Beyond that, the quality might start to decline, though they will still be safe to eat.
Final Thoughts
This Easy Homemade Chocolate Ice Cream Bar Without Machine Recipe is more than just a dessert. It’s a joyful experience, a simple pleasure you can whip up effortlessly that feels indulgent and satisfying. Give it a try and you might just discover your new favorite way to enjoy chocolate and ice cream all at once – no fancy tools required.
Print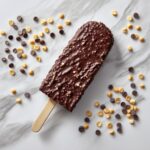
Easy Homemade Chocolate Ice Cream Bar Without Machine Recipe
- Prep Time: 30 minutes
- Cook Time: 0 minutes
- Total Time: 6 hours 30 minutes
- Yield: 4 ice cream bars
- Category: Dessert
- Method: No-Cook
- Cuisine: American
- Diet: Gluten Free
Description
This Easy Homemade Chocolate Ice Cream Bar recipe lets you create delicious, creamy chocolate ice cream bars without an ice cream machine. Combining rich cocoa powder, sweetened condensed milk, and whipped heavy cream, these no-churn ice cream bars are dipped in melted milk chocolate and optionally coated with crunchy roasted almonds for an irresistible treat. Perfect for summer cravings, these bars require just a few simple ingredients and minimal hands-on time.
Ingredients
Ice Cream Base
- 160 g Heavy Cream
- 110 g Sweetened Condensed Milk
- 30 g Unsweetened Dark Cocoa Powder (e.g., Callebaut)
Chocolate Coating
- 250 g Milk Chocolate (e.g., Callebaut Milk Chocolate Callets)
- 40 g Roasted Chopped Almonds (optional)
Instructions
- Sift and Mix Cocoa Powder: Sift the unsweetened cocoa powder into the sweetened condensed milk to avoid lumps, then gently mix until just combined to maintain a smooth chocolate base.
- Whip Heavy Cream: Using an electric hand mixer, whip the heavy cream until early hard peaks form to incorporate air and provide the ice cream with its creamy texture.
- Fold Mixtures Together: Carefully fold the whipped cream into the cocoa-condensed milk mixture with a rubber spatula, preserving the whipped texture without deflating it.
- Fill Ice Cream Moulds: Spoon the mixture into four cavities of your ice cream mould. Gently tap the mould on the kitchen counter to release any air bubbles, then insert a stick into each cavity for handles.
- Smooth the Surface: Using an offset spatula, smooth the top of the ice cream in the mould for an even finish.
- Freeze: Place the ice cream mould into the freezer and chill for at least 6 hours until completely frozen.
- Melt Chocolate: Once the ice cream is frozen, melt the milk chocolate in the microwave, stirring every 30 seconds to ensure smooth and even melting.
- Add Almonds (Optional): If desired, mix chopped roasted almonds into the melted chocolate for added texture and flavor.
- Prepare for Dipping: Pour the melted chocolate mixture into a tall, skinny glass for easier dipping. Carefully unmould each ice cream bar by gently releasing it from the mould.
- Dip and Coat: Holding the stick, immediately dip each ice cream bar into the melted chocolate. Gently shake the bar to allow excess coating to run off and prevent the chocolate layer from becoming too thick.
- Set Coating and Store: Allow the chocolate coating to set for 30–60 seconds at room temperature, then store the coated ice cream bars back in the freezer until ready to enjoy.
Notes
- Ensure the whipped cream is not overwhipped to avoid a grainy texture in the ice cream.
- Use a fine sieve to sift cocoa powder for smooth incorporation without lumps.
- The optional almonds add a delightful crunch but can be omitted or substituted with other nuts or toppings.
- Melt chocolate carefully to avoid burning, stirring frequently during microwaving.
- Store the ice cream bars in an airtight container or freezer-safe bag to prevent freezer burn.
- Allow the chocolate coating to fully harden before serving for best texture.
- This recipe yields 4 standard-sized ice cream bars.


