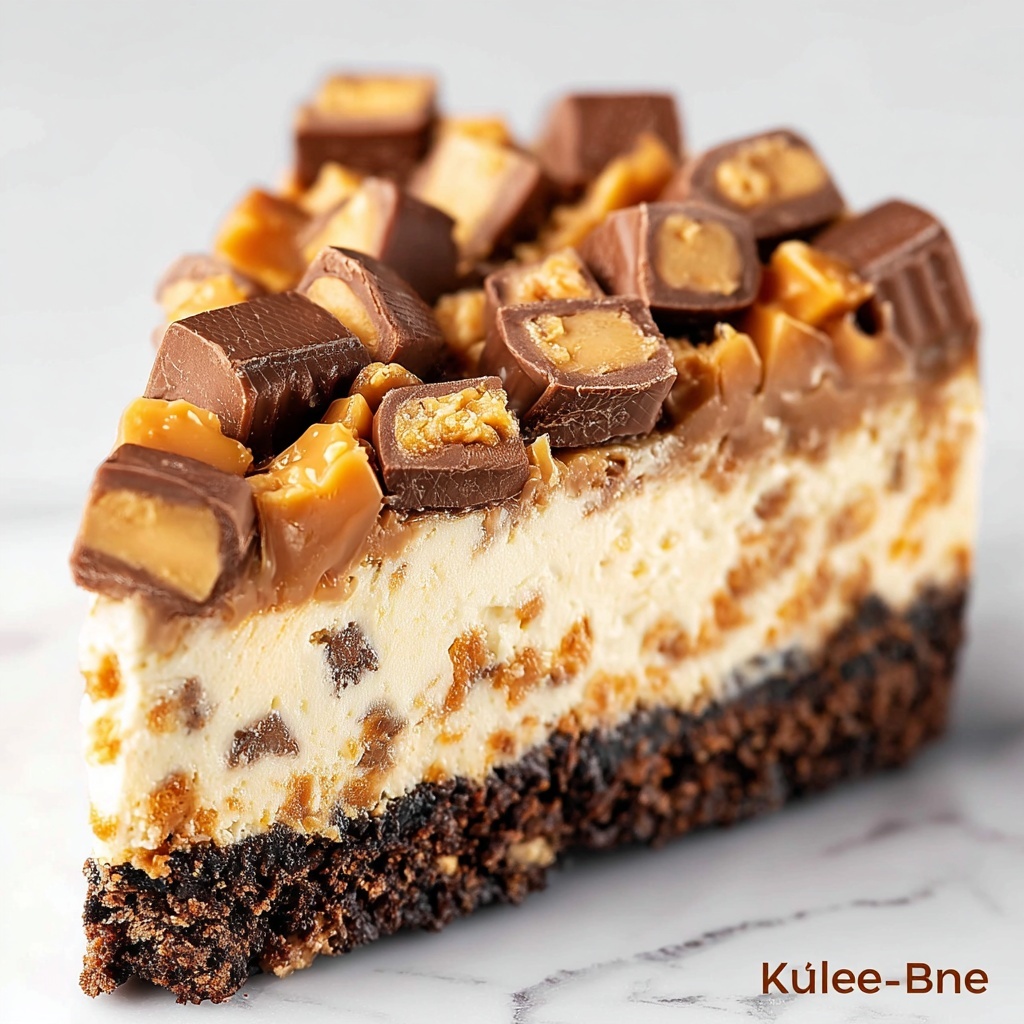
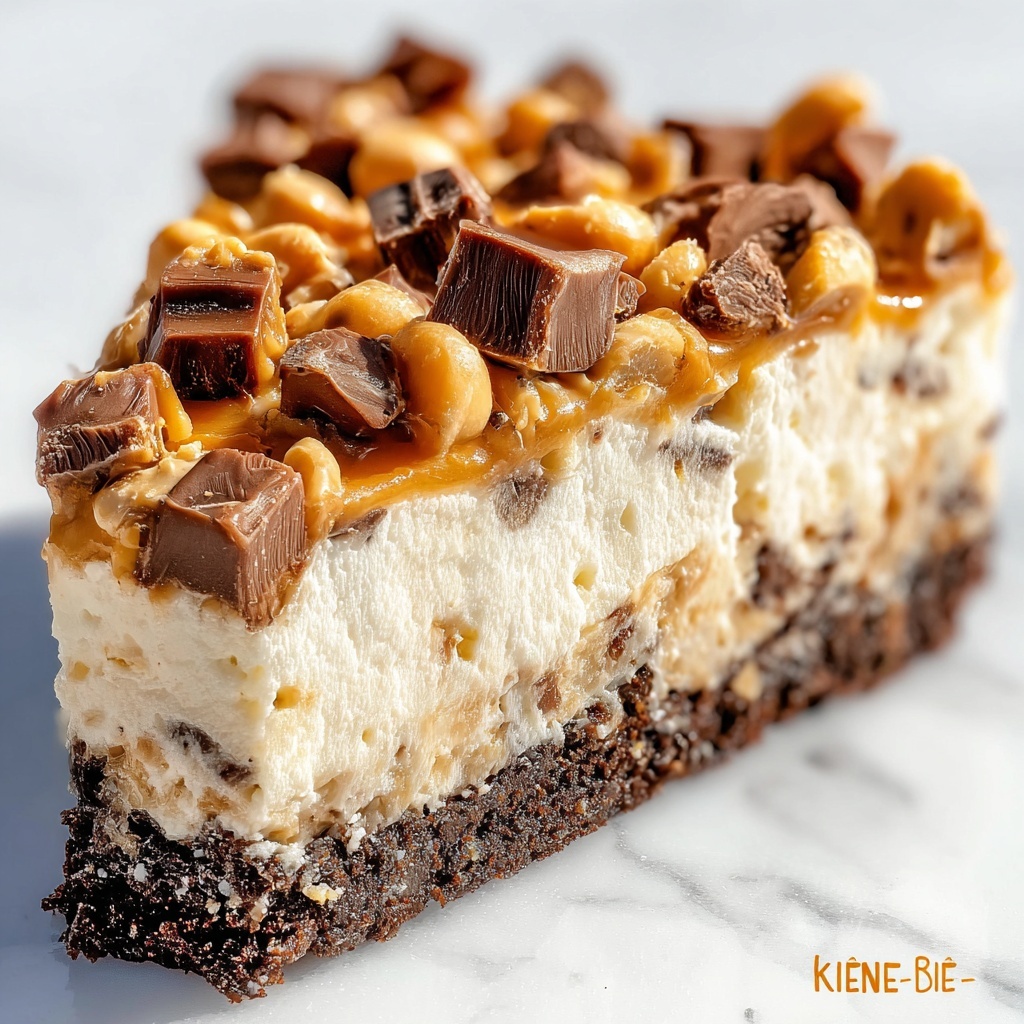
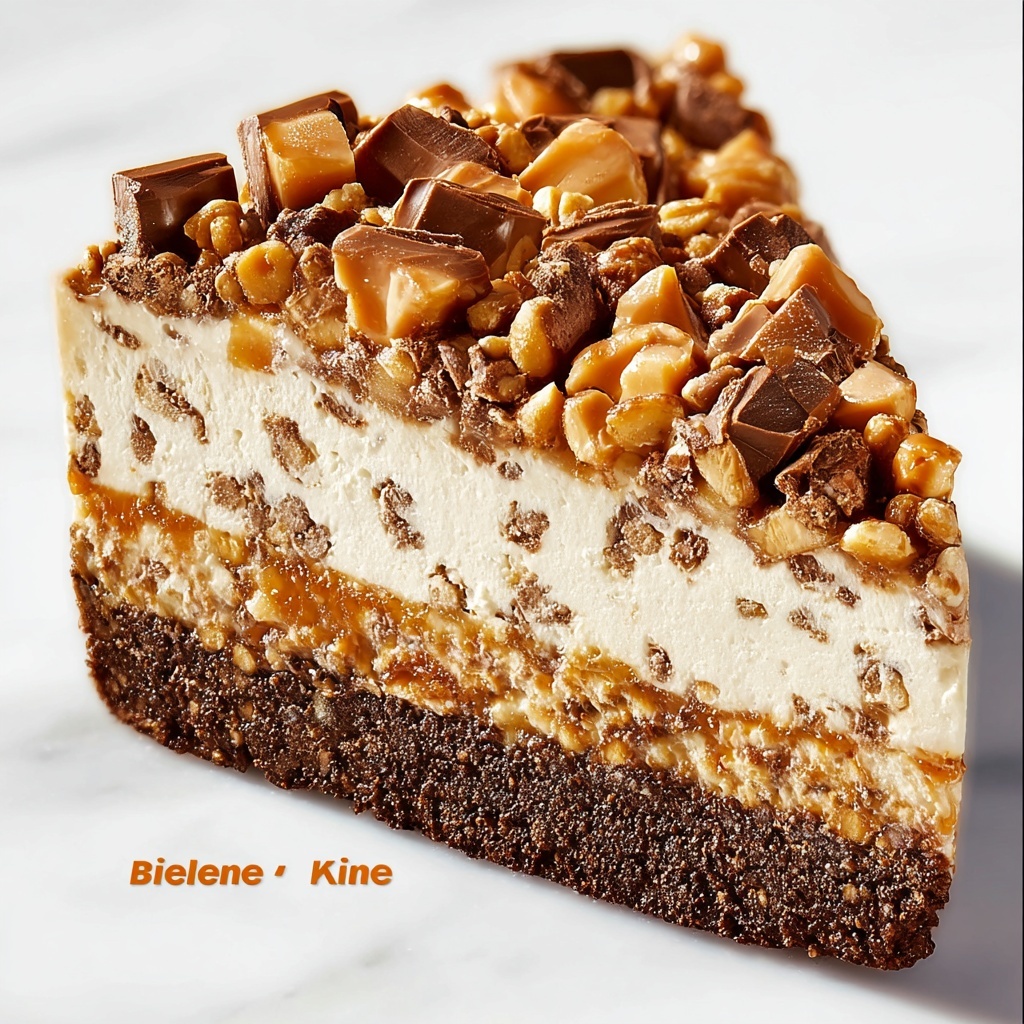
If you have a sweet tooth and love combining creamy textures with a crunchy, peanut-buttery crunch, then this Butterfinger Pie (No-Bake) Recipe is going to be your new best friend in the kitchen. This dessert is not only easy to whip up but also delivers big on flavor, combining a luscious peanut butter filling with the irresistible crunch of Butterfinger bars all nestled in a buttery graham cracker crust. The best part? It’s a no-bake pie, which means minimal fuss and maximum deliciousness. Whether you’re making it for a casual family dinner or a special occasion treat, this pie is guaranteed to bring smiles all around.
Ingredients You’ll Need
The magic of this Butterfinger Pie (No-Bake) Recipe lies in its simple but carefully chosen ingredients. Each plays a vital role, from the crunchy crust to the smooth and fluffy filling that holds all those delightful Butterfinger bites. Let’s break down what you’ll need and why each is important.
- 1 1/2 cups graham cracker crumbs: Creates the perfect buttery, crunchy crust base for the pie.
- 1/4 cup granulated sugar: Adds just the right touch of sweetness to balance the crust.
- 1/2 cup unsalted butter, melted: Binds the crust ingredients together and adds a rich flavor.
- 1 package (8 oz) cream cheese, softened: Provides a creamy and tangy backbone for the filling.
- 1 cup powdered sugar: Sweetens the filling smoothly without any grit.
- 1 cup whipped topping (like Cool Whip): Lightens the filling, making it delightfully fluffy.
- 1 cup peanut butter: Gives that classic peanut butter flavor essential to Butterfinger treats.
- 1 cup heavy cream: Adds richness and a velvety texture to the filling.
- 3 Butterfinger bars, crushed (reserve some for topping): The star ingredient that adds irresistible crunch and chocolatey peanut butter goodness.
How to Make Butterfinger Pie (No-Bake) Recipe
Step 1: Prepare the Crust
Start by mixing the graham cracker crumbs, sugar, and melted butter in a medium bowl. This combination creates the base that will give your pie that wonderful buttery crunch. Once the mixture is evenly combined, press it firmly into the bottom of a 9-inch pie dish. Pop it into the fridge to set while you move on to the filling.
Step 2: Make the Filling
In a large bowl, beat the softened cream cheese and powdered sugar together until silky smooth. This is the creamy foundation of your filling. Next, add the peanut butter and heavy cream, continuing to beat until the mixture is light and fluffy. This creates that perfectly rich and velvety texture we all dream about in a peanut butter pie. Then, gently fold in the whipped topping to make the filling even lighter and fluffier.
Step 3: Add the Butterfinger Crunch
Carefully stir in most of the crushed Butterfinger bars into the filling, reserving some to sprinkle on top. This step is what really sets this pie apart from any other peanut butter dessert — that unique Butterfinger crunch and flavor is a game changer.
Step 4: Assemble the Pie
Spread the luscious filling evenly over the chilled crust. Make sure it’s nice and smooth for that beautiful presentation. Then sprinkle the reserved Butterfinger pieces on top for an eye-catching and crunchy finish.
Step 5: Chill to Set
Refrigerate the pie for at least 3 to 4 hours, or even better, overnight. This chilling time allows the filling to firm up so the pie slices beautifully and the flavors meld perfectly. Patience here definitely pays off!
Step 6: Serve and Enjoy
When you’re ready, slice the pie and serve chilled. Every bite is a creamy, crunchy, sweet delight that will keep everyone coming back for more.
How to Serve Butterfinger Pie (No-Bake) Recipe
Garnishes
To make your Butterfinger Pie (No-Bake) Recipe even more irresistible, consider garnishing with extra crushed Butterfinger pieces, a drizzle of chocolate syrup, or a dollop of freshly whipped cream. These simple toppings add layers of texture and a polished look that will impress your guests before they even take a bite.
Side Dishes
This pie pairs wonderfully with a scoop of vanilla ice cream or fresh berries to cut through the richness. A light, fruity salad can also serve as a refreshing contrast, balancing the decadent flavors of the pie nicely.
Creative Ways to Present
For special occasions, try serving mini versions of this Butterfinger Pie in individual glass cups for a fun twist. You can also layer the filling and crumbs in parfait glasses, alternating with whipped cream and additional Butterfinger bits for a visually stunning and easy-to-serve dessert.
Make Ahead and Storage
Storing Leftovers
Your Butterfinger Pie (No-Bake) Recipe keeps well in the refrigerator for up to 3 days. Just cover it tightly with plastic wrap or store it in an airtight container to maintain that fresh, creamy texture and prevent the crust from becoming soggy.
Freezing
If you want to prepare it in advance, this pie freezes beautifully. Wrap it well in plastic wrap and then foil before placing it in the freezer. When ready to enjoy, thaw it overnight in the refrigerator to preserve the perfect no-bake texture and flavor.
Reheating
This pie is best served cold and should not be reheated. Warming it would compromise the creamy filling and crunchy crust textures that make the Butterfinger Pie (No-Bake) Recipe so delightful.
FAQs
Can I use another candy instead of Butterfinger bars?
Absolutely! While Butterfinger bars are the star of this pie, you could substitute with other crunchy candy bars like Heath or Snickers. Just keep in mind the flavor profile will change, but it’ll still be delicious.
Is it possible to make this pie gluten-free?
Yes! Simply swap the graham cracker crumbs for a gluten-free version or crushed gluten-free cookies. Make sure all other ingredients you use are gluten-free certified.
Can I make this pie ahead of time?
Definitely. One of the joys of this Butterfinger Pie (No-Bake) Recipe is that it can be made up to two days in advance and stored in the fridge, making it perfect for planning ahead.
How do I crush the Butterfinger bars without making a mess?
Place the bars in a sealed plastic bag and gently crush with a rolling pin, or use a food processor with short pulses. This keeps the bits contained and easy to manage.
Can I use natural peanut butter in the pie?
You can, but it may alter the texture slightly as natural peanut butter is often thinner and oilier. For best results, use a creamy, classic peanut butter for that perfect balance in the filling.
Final Thoughts
This Butterfinger Pie (No-Bake) Recipe is truly a crowd-pleaser that combines ease with incredible flavor and texture. It’s a dessert that feels special without requiring any oven time or complicated steps. If you’re looking for something that friends and family will rave about, give this pie a try. I promise once you taste the creamy peanut butter filling combined with that buttery crust and crunchy Butterfinger bits, it will quickly become one of your all-time favorites to keep on hand for any occasion.
Print
Butterfinger Pie (No-Bake) Recipe
- Prep Time: 15 minutes
- Cook Time: 0 minutes
- Total Time: 3 hours 15 minutes
- Yield: 8 servings
- Category: Dessert
- Method: No-Cook
- Cuisine: American
Description
This Butterfinger Pie is a delightful no-bake dessert that combines a crunchy graham cracker crust with a creamy peanut butter and cream cheese filling, studded with crunchy Butterfinger candy pieces. Perfectly chilled, it’s a sweet and crunchy treat that’s easy to prepare and ideal for any occasion.
Ingredients
Crust
- 1 1/2 cups graham cracker crumbs
- 1/4 cup granulated sugar
- 1/2 cup unsalted butter, melted
Filling
- 1 package (8 oz) cream cheese, softened
- 1 cup powdered sugar
- 1 cup whipped topping (like Cool Whip)
- 1 cup peanut butter
- 1 cup heavy cream
- 3 Butterfinger bars, crushed (reserve some for topping)
Instructions
- Prepare the Crust: In a medium bowl, mix together graham cracker crumbs, granulated sugar, and melted butter until the mixture is evenly combined and holds together when pressed.
- Form the Crust: Press the crumb mixture firmly into the bottom of a 9-inch pie dish, forming an even crust layer. Place it in the refrigerator to chill and set while you prepare the filling.
- Make the Filling Base: In a large bowl, beat the softened cream cheese and powdered sugar together until smooth and creamy, ensuring there are no lumps.
- Add Peanut Butter and Cream: Incorporate the peanut butter and heavy cream into the cream cheese mixture, beating until the filling becomes fluffy and fully dissolved.
- Fold in Whipped Topping and Butterfingers: Gently fold the whipped topping into the filling to maintain its light texture, then stir in most of the crushed Butterfinger bars, reserving a handful for garnish.
- Assemble the Pie: Spread the prepared filling evenly over the chilled graham cracker crust with a spatula for a smooth surface.
- Garnish: Sprinkle the reserved crushed Butterfinger pieces on top of the pie for an appealing crunch and decorative finish.
- Chill the Pie: Refrigerate the assembled pie for at least 3 to 4 hours, or preferably overnight, to allow it to fully set and develop flavors.
- Serve: Slice the pie and serve chilled to enjoy a creamy, sweet, and crunchy dessert treat.
Notes
- For easier slicing, run a knife under hot water and dry it before cutting the pie for clean slices.
- You can substitute whipped topping with freshly whipped cream for a fresher flavor.
- Make sure the cream cheese is fully softened to avoid lumps in the filling.
- This pie is best served cold and should be stored in the refrigerator.

