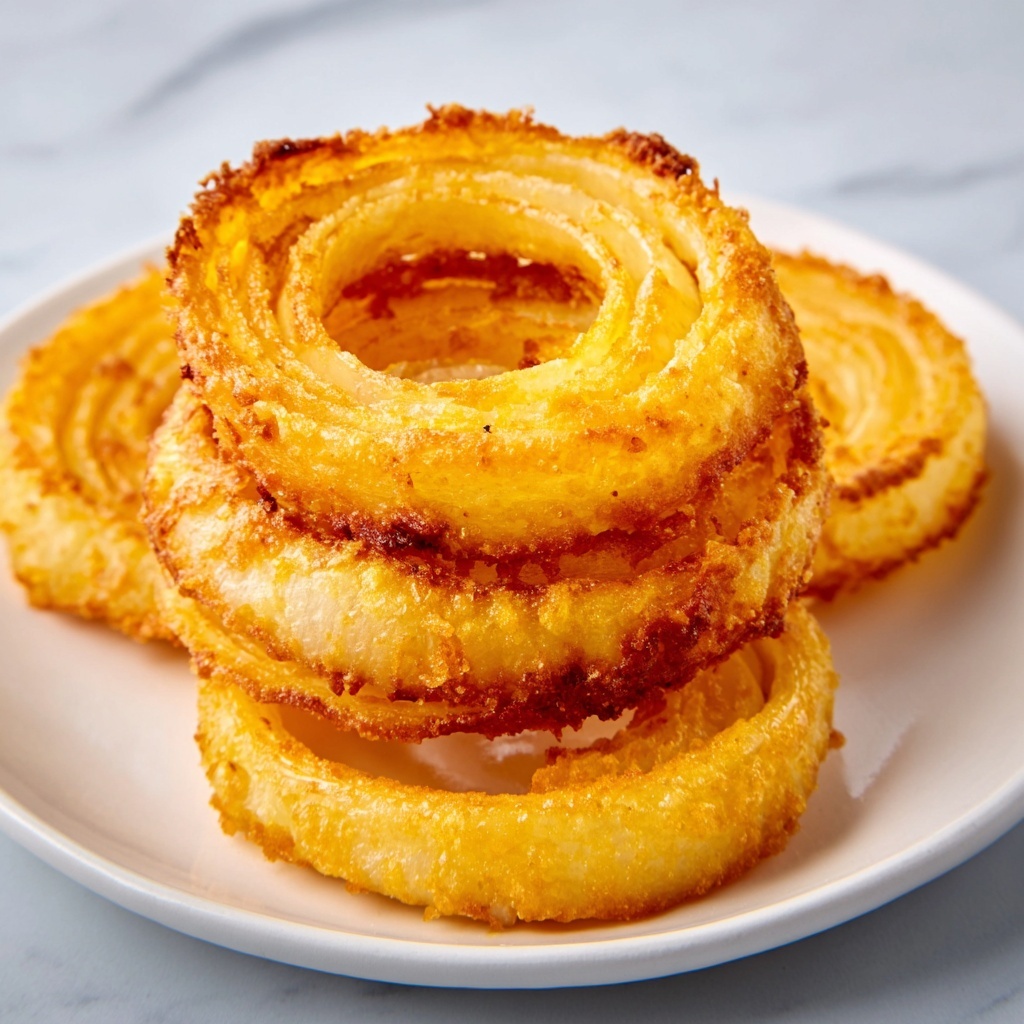
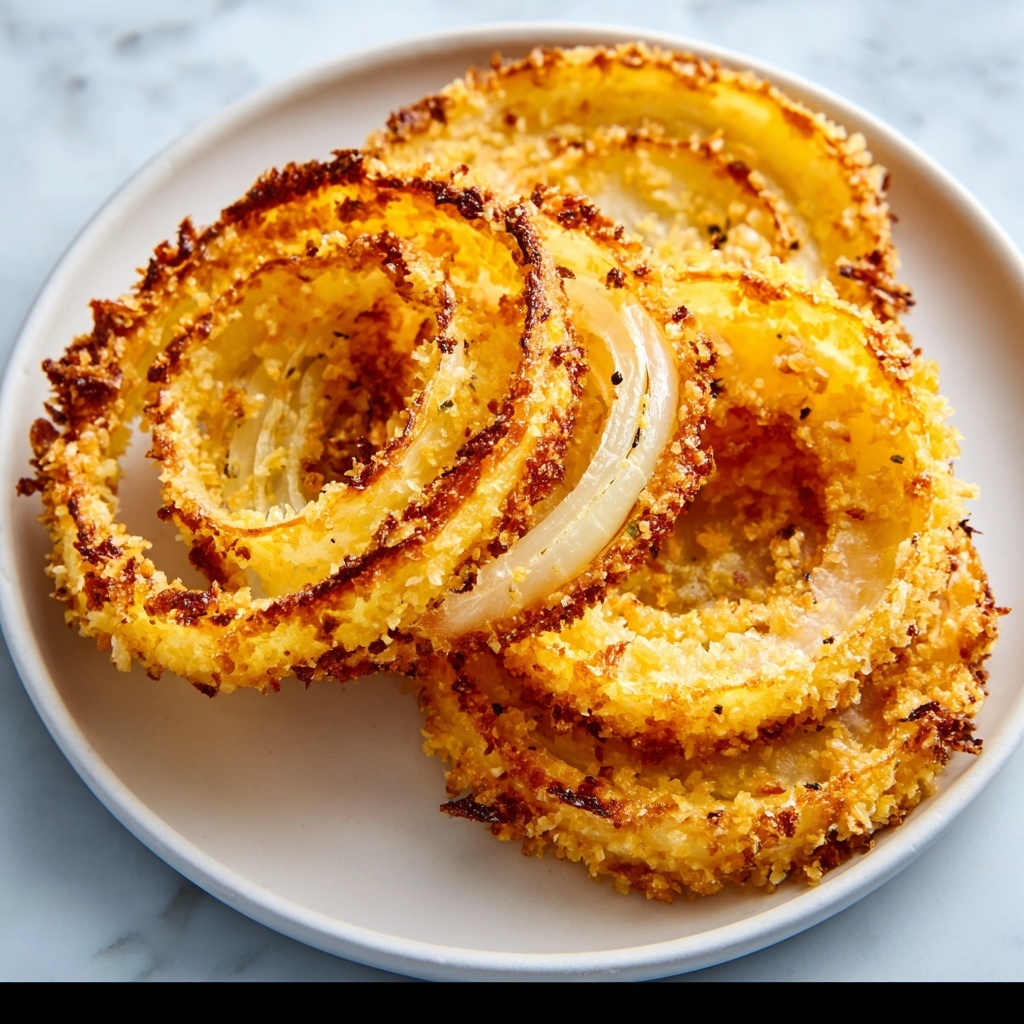
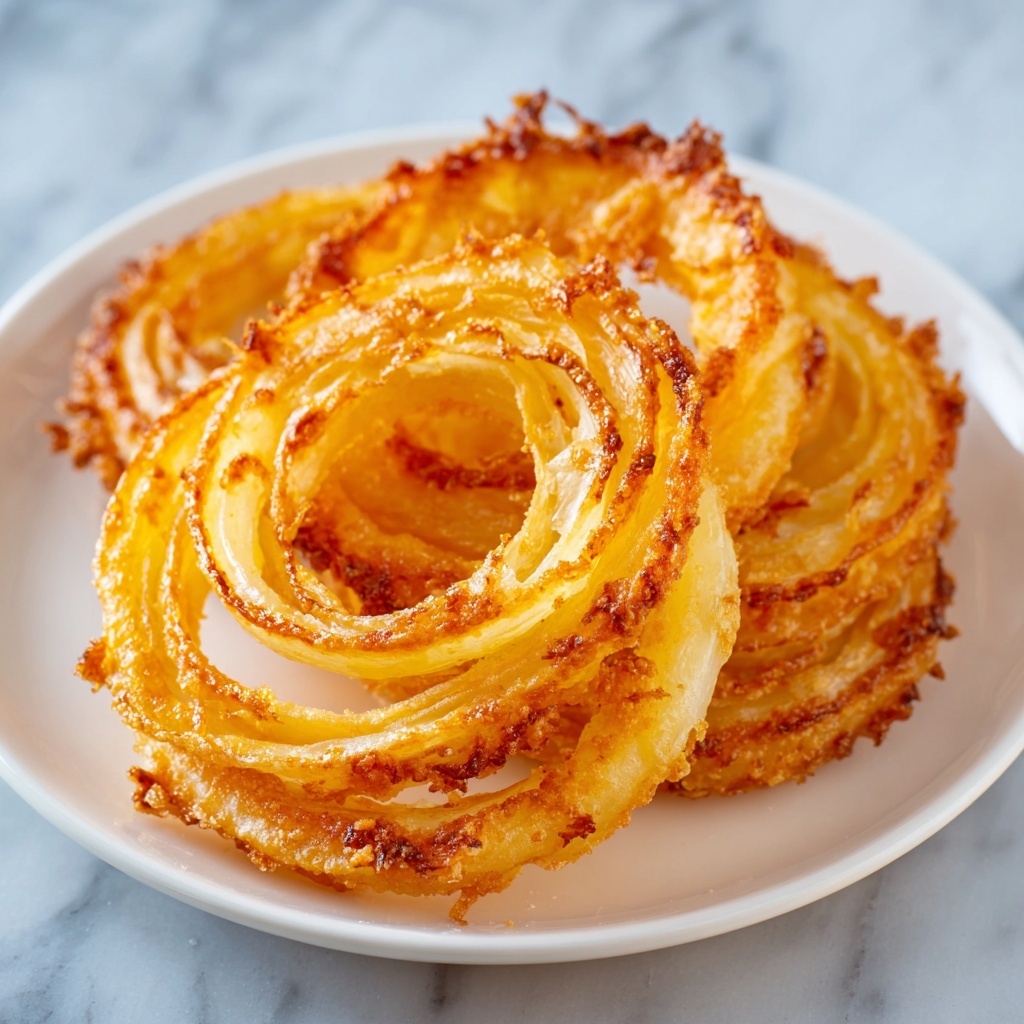
If you love the irresistible combination of sharp melted cheese and sweet, crispy onions, then you are going to adore this Cheesy Onion Crisps Recipe. These little bites are crunchy, flavorful, and perfectly salty with a hint of warm garlic and pepper. They whip up quickly, making them ideal for satisfying snack cravings or impressing guests with a simple yet elegant appetizer. Each crisp is a delightful mix of cheddar and Parmesan cheese, topped with tender onion rings that bake into golden, savory perfection.
Ingredients You’ll Need
Gathering just a handful of ingredients is all it takes to make these crispy delights. Each item plays a crucial role in building layers of taste and texture, from the sharpness of cheddar cheese to the subtle sweetness of onion rings.
- Large sweet onion: Thinly sliced into rings to provide the perfect balance of sweetness and crunch.
- Shredded sharp cheddar cheese: This cheese adds a rich, melt-in-your-mouth intensity that crisps beautifully.
- Grated Parmesan cheese: Offers a salty, nutty finish that enhances the overall flavor complexity.
- Garlic powder: A subtle layer of savory depth that makes every bite pop.
- Black pepper: Adds a gentle heat to complement the cheese and onion.
- Chopped fresh chives (optional): A fresh, herbal note perfect for garnishing and brightening the dish.
- Nonstick cooking spray or parchment paper: Ensures your crisps slide off the pan effortlessly without sticking.
How to Make Cheesy Onion Crisps Recipe
Step 1: Prepare Your Oven and Baking Sheet
Start by preheating your oven to 375°F. Meanwhile, line a baking sheet with parchment paper or lightly grease it with a nonstick cooking spray. This step is key for even baking and an easy release of your crisps once they are done.
Step 2: Season the Onion Rings
In a mixing bowl, toss the thinly sliced onion rings with garlic powder and black pepper. This seasoning infuses each onion ring with a mild, savory kick that complements the cheese perfectly during baking.
Step 3: Layer the Cheese and Onions
Arrange small mounds of shredded sharp cheddar cheese on your prepared baking sheet. Make sure to space these about 2 inches apart to allow for spreading. Gently top each mound with a few onion rings, then sprinkle a bit of grated Parmesan cheese over the top. Press down lightly to flatten the layers slightly so they bake into neat, integrated crisps.
Step 4: Bake Until Golden and Bubbly
Place the baking sheet in the oven and bake for 10 to 12 minutes. Keep an eye out for the cheese to become bubbly and develop a gorgeous golden-brown color. This signals that your Cheesy Onion Crisps are ready to come out and cool.
Step 5: Cool and Garnish
Allow the crisps to cool on the baking sheet for 3 to 5 minutes. As they cool, they will firm up into perfectly crispy bites. Once cool, optionally sprinkle with chopped fresh chives to add a pop of green color and a mild oniony freshness that balances the richness.
How to Serve Cheesy Onion Crisps Recipe
Garnishes
Fresh herbs like chopped chives or parsley add a bright touch that contrasts nicely with the richness of the cheese. You can also dust with a pinch of smoked paprika for smoky warmth or a light sprinkle of sea salt to enhance the crispy aspect.
Side Dishes
Cheesy Onion Crisps pair wonderfully with light dips such as sour cream or Greek yogurt mixed with herbs. They’re also fantastic alongside fresh veggie sticks for a balanced snack or served with a cup of homemade tomato soup to create a comforting bite-perfect combo.
Creative Ways to Present
For a party platter, arrange these crisps around a small bowl of a creamy avocado dip or caramelized onion jam. You can even serve them stacked slightly overlapping on a rustic wooden board for an eye-catching appetizer that invites everyone to grab one.
Make Ahead and Storage
Storing Leftovers
Store any leftover crisps in an airtight container at room temperature for up to one day. Because these are best enjoyed fresh and crunchy, they won’t hold their crispness long, so try to consume them the same day you bake them for maximum enjoyment.
Freezing
These crisps do not freeze well because the texture of the cheese and onion changes upon thawing. For the best experience with this Cheesy Onion Crisps Recipe, avoid freezing and instead make small batches to enjoy fresh.
Reheating
If you need to warm leftovers gently, place them on a baking sheet and heat in a preheated oven at 300°F for about 5 minutes. This will help revive a bit of the crispness, though they are still best eaten freshly baked.
FAQs
Can I use a different type of cheese?
Absolutely! While sharp cheddar and Parmesan give the crisps signature flavor and texture, you can experiment with mozzarella for a milder taste or a spicy pepper jack to add some heat.
Are these crisps gluten-free?
Yes, this Cheesy Onion Crisps Recipe uses only naturally gluten-free ingredients, making it a great low-carb and gluten-free snack option.
Can I make them vegan or dairy-free?
For a vegan version, try using dairy-free shredded cheese alternatives. Keep in mind the texture might differ slightly, but it’s still a delicious and satisfying snack.
How thin should the onion slices be?
Slice your onions thinly but gently to maintain rings that hold together. About 1/8 inch thick is perfect for quick baking and a tender yet crispy texture.
What are some flavor variations I can try?
Incorporate spices like smoked paprika, cayenne pepper, or even a sprinkle of Italian seasoning before baking to give your crisps unique flavor twists that keep things exciting.
Final Thoughts
These Cheesy Onion Crisps are truly a crowd-pleaser, easy to make, and so addictive you’ll find yourself reaching for another every time. Whether for a casual snack or a fancy appetizer, I encourage you to try this recipe and discover just how simple and delicious homemade crispy cheese and onion snacks can be.
Print
Cheesy Onion Crisps Recipe
- Prep Time: 10 minutes
- Cook Time: 12 minutes
- Total Time: 22 minutes
- Yield: 12 crisps
- Category: Appetizer, Snack
- Method: Baking
- Cuisine: American
- Diet: Gluten Free, Vegetarian, Low-Carb
Description
Cheesy Onion Crisps are a delightful, crispy appetizer featuring thinly sliced sweet onions layered over sharp cheddar and Parmesan cheese, seasoned with garlic powder and black pepper, baked to golden perfection. These low-carb, gluten-free snacks are perfect for a quick bite or party platter, offering a satisfying combination of savory cheese and tender onion rings with an optional fresh chive garnish for extra flavor.
Ingredients
Onion and Seasonings
- 1 large sweet onion, thinly sliced into rings
- 1/4 teaspoon garlic powder
- 1/4 teaspoon black pepper
Cheese
- 1 cup shredded sharp cheddar cheese
- 1/4 cup grated Parmesan cheese
Optional Garnish
- 1 tablespoon chopped fresh chives (optional)
Others
- Nonstick cooking spray or parchment paper
Instructions
- Preheat Oven and Prepare Baking Sheet: Preheat your oven to 375°F (190°C). Line a baking sheet with parchment paper or lightly grease it with nonstick cooking spray to prevent sticking.
- Season Onion Slices: In a medium bowl, gently toss the thinly sliced onion rings with garlic powder and black pepper, ensuring even seasoning over all slices.
- Arrange Cheese Mounds: On the prepared baking sheet, place small mounds of shredded sharp cheddar cheese spaced about 2 inches apart, which will serve as the crisp base.
- Add Onion Rings and Parmesan: Top each cheddar mound with a couple of the seasoned onion rings. Then sprinkle a little grated Parmesan cheese on top. Press down gently to slightly flatten the layers for better crisping.
- Bake: Place the baking sheet in the preheated oven and bake for 10 to 12 minutes, or until the cheese is bubbly and turns a golden brown color.
- Cool Crisps: Remove from the oven and let the crisps cool on the baking sheet for 3 to 5 minutes. This cooling step allows them to firm up for a crisp texture.
- Garnish and Serve: Sprinkle chopped fresh chives over the crisps if using, and serve immediately for best freshness and crunch.
Notes
- Serve these crisps fresh and crunchy for the best texture.
- Enhance flavor by adding a pinch of smoked paprika or cayenne pepper to the seasoning mix.
- For easy cleanup and perfect crisp release, use a silicone baking mat instead of parchment paper.


