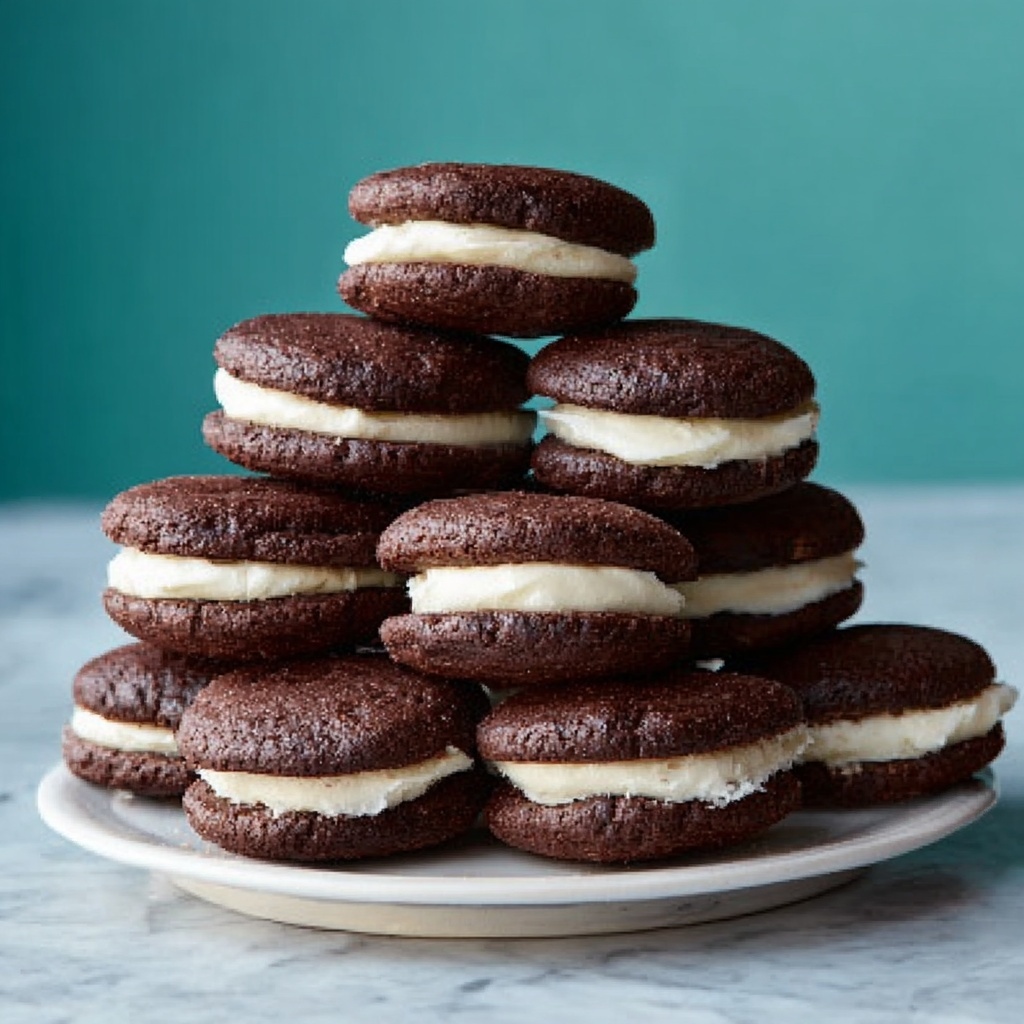
If you’ve ever dreamed of biting into a perfectly soft, chocolatey sandwich cookie with a luscious, sweet marshmallow center, then you’re going to love making these Chocolate Whoopie Pies with Marshmallow Filling Recipe. They strike the perfect balance between cake and cookie, boasting rich cocoa flavors and a creamy, fluffy filling that feels like a warm hug for your taste buds. Whether you’re baking for a party or just indulging your sweet tooth at home, these treats are irresistibly good and surprisingly easy to whip up. Let me share all the delicious details so you can enjoy every bite of this classic American dessert with a fun homemade twist!
Ingredients You’ll Need
Every ingredient in this recipe plays a crucial role to create the perfect texture, flavor, and color of the whoopie pies. The combination is simple but essential to achieving that signature soft cake and fluffy marshmallow filling.
- All-purpose flour: Provides structure and the tender crumb that makes these pies feel like a soft cake.
- Unsweetened cocoa powder: Delivers deep chocolate flavor and a rich brown color.
- Baking soda: Helps the cakes rise and keeps them light and airy.
- Salt: Balances the sweetness and enhances all the flavors.
- Granulated sugar: Sweetens the batter and contributes to a slight crispness on the cakes’ edges.
- Unsalted butter (softened): Adds richness and tenderness.
- Large egg: Binds ingredients and adds moisture for tender cakes.
- Vanilla extract: Infuses the batter with warm, aromatic notes.
- Buttermilk: Gives a slight tang and keeps the cakes moist and tender.
- Powdered sugar (for filling): Sweetens and creates the silky texture of the filling.
- Marshmallow creme (or fluff): The heart of the filling, it makes the pies irresistibly fluffy and sweet.
How to Make Chocolate Whoopie Pies with Marshmallow Filling Recipe
Step 1: Prepare the Cake Batter
Begin by preheating your oven to 350°F (175°C) and lining two baking sheets with parchment paper — this prevents sticking and ensures clean removal. In a medium bowl, whisk together your dry ingredients: flour, cocoa powder, baking soda, and salt. This step is key to evenly distribute the leavening and cocoa for a consistent chocolate depth in every bite.
Step 2: Cream Butter and Sugar
In a large bowl, beat the softened butter with granulated sugar until the mixture is light and fluffy. This usually takes about 3-4 minutes with a mixer, and it’s crucial for that melt-in-your-mouth texture. Add in the egg and vanilla extract, mixing until everything is smooth and combined.
Step 3: Combine Wet and Dry Ingredients
Here’s where the magic happens: alternate adding the dry ingredients and buttermilk to the butter mixture, starting and ending with the dry ingredients. Mix just until combined for tender, moist cakes—overmixing can make them tough. The batter should be thick but spoonable.
Step 4: Bake the Whoopie Cake Rounds
Drop rounded tablespoons of batter onto your prepared baking sheets, spacing them about 2 inches apart. This gives them room to spread without merging. Bake for 10-12 minutes until the cakes spring back when gently touched—this ensures they are perfectly cooked but still soft inside. Let them cool a few minutes on the sheets, then transfer to wire racks to cool completely before filling.
Step 5: Make the Marshmallow Filling
While the cakes cool, whip up your filling by beating softened butter until smooth. Gradually add powdered sugar, beating until fluffy. Stir in the marshmallow creme and vanilla extract, then beat again until the mixture is creamy and spreadable. This filling is what elevates your whoopie pies to a whole new level of indulgence.
Step 6: Assemble the Whoopie Pies
Take one cake round and spread or pipe a generous dollop of marshmallow filling on the flat side. Top it with a second cake, gently pressing together to form a sandwich. Repeat with the remaining cakes and filling for a dozen perfect whoopie pies packed with creamy goodness.
How to Serve Chocolate Whoopie Pies with Marshmallow Filling Recipe
Garnishes
You can keep these classic whoopie pies as is because their simplicity is perfect, but a light dusting of powdered sugar or a drizzle of melted chocolate can add a festive flair. For holiday occasions, sprinkle crushed peppermint candy on the filling before sandwiching for a refreshing twist.
Side Dishes
These whoopie pies pair wonderfully with a cold glass of milk or a cup of rich hot chocolate for those cozy moments. If you want to serve them at a gathering, consider easy sides like fresh berries or simple sugar cookies to complement the chocolatey richness without overpowering it.
Creative Ways to Present
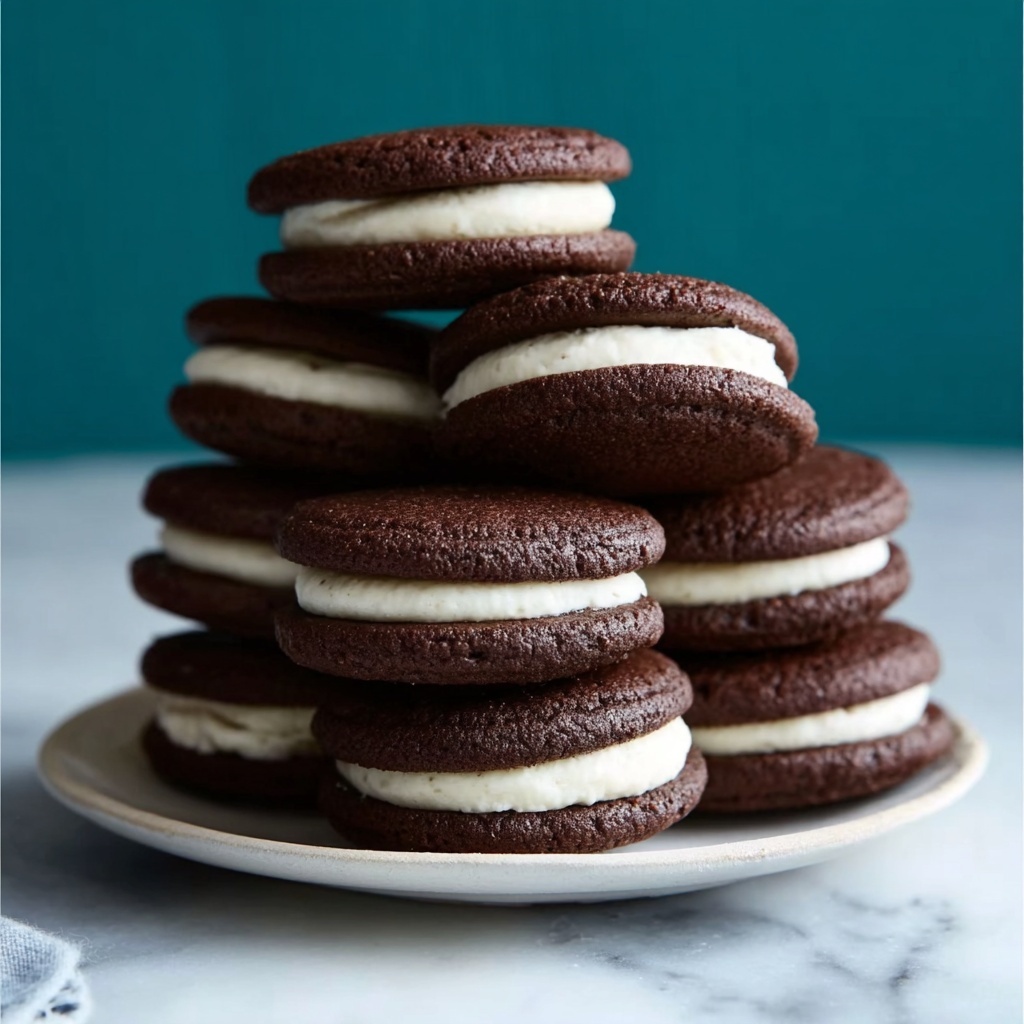
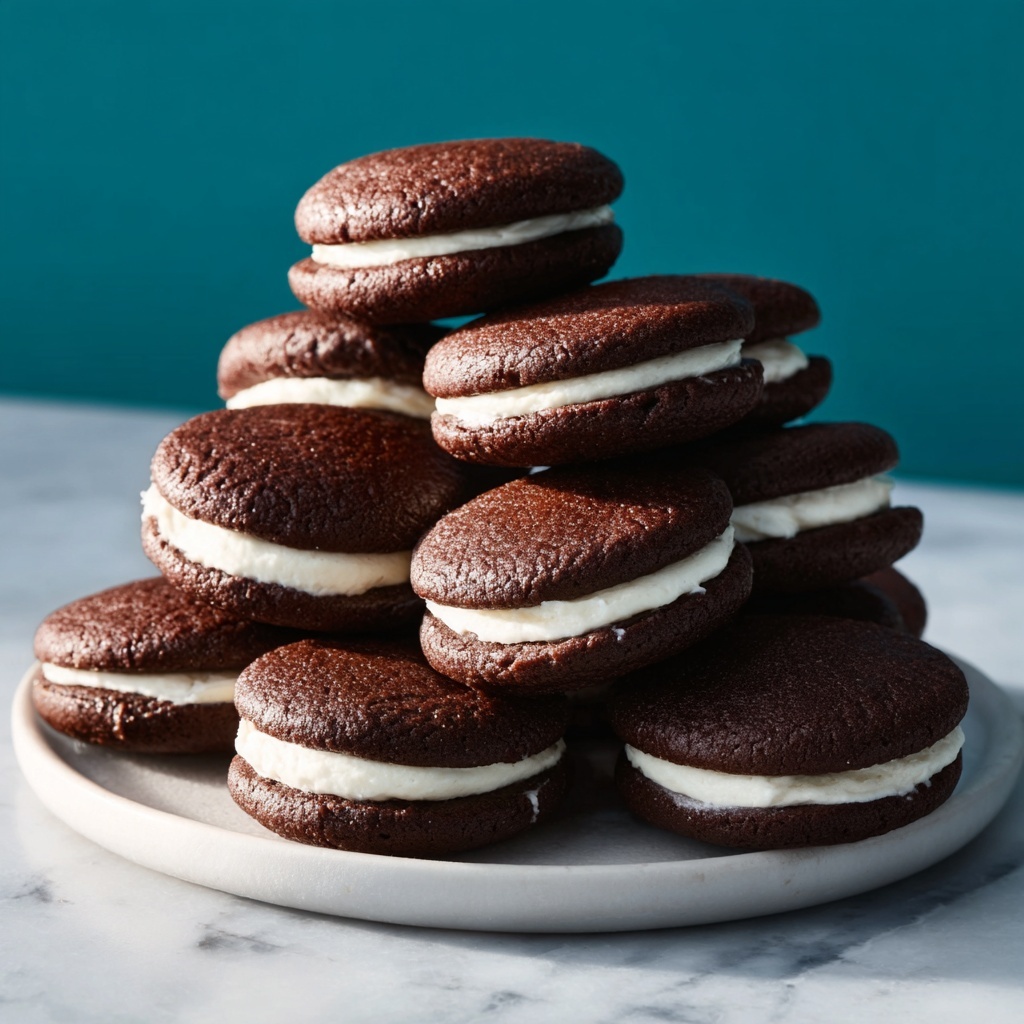
Try serving your Chocolate Whoopie Pies with Marshmallow Filling Recipe in decorative cupcake liners for a pretty, portable treat. You could also stack them into a tower for a stunning dessert centerpiece or wrap them individually for a thoughtful homemade gift that friends and family will adore.
Make Ahead and Storage
Storing Leftovers
Store your whoopie pies in an airtight container at room temperature for up to 3 days to keep them soft and fresh. If your kitchen is warm, refrigeration can extend their freshness for a couple more days, but bring them back to room temperature before serving for the best texture.
Freezing
These treats freeze beautifully! Place whoopie pies in a freezer-safe container or wrap them tightly in plastic wrap followed by foil. Freeze for up to 2 months. When you want to enjoy, thaw them overnight in the refrigerator or at room temperature for a few hours until softened and ready to savor.
Reheating
If you prefer your whoopie pies slightly warmed (who doesn’t?), pop one in the microwave for 10 to 15 seconds. This makes the marshmallow filling extra gooey and the chocolate cake turn irresistibly soft, creating a comforting, just-baked feel.
FAQs
What makes whoopie pies different from regular cookies?
Whoopie pies have a texture that’s somewhere between cake and cookie—soft, tender, and cakey on the outside with a rich, creamy filling that melts in your mouth. They’re bigger and softer than most cookies, offering a different kind of indulgence.
Can I substitute buttermilk in this recipe?
Absolutely! If you don’t have buttermilk on hand, just mix 1 cup of milk with 1 tablespoon of lemon juice or vinegar. Let it sit for 5 minutes to curdle before using. This homemade buttermilk substitute works perfectly to give the cakes their tender crumb.
Is marshmallow creme necessary for the filling?
The marshmallow creme gives the filling its uniquely fluffy texture and sweet flavor, but if you can’t find it, you can experiment with homemade marshmallow fluff or try a sturdy vanilla buttercream. Just keep in mind the taste and texture will be slightly different.
How long can I keep these whoopie pies fresh?
Stored in an airtight container at room temperature, they stay delicious for about 3 days. If refrigerated, they last up to a week, but be sure to let them come to room temperature before eating for the best experience.
Can I add flavors or mix-ins to the filling?
Definitely! Adding a teaspoon of peppermint extract makes a festive treat, or folding in crushed cookies or chopped nuts adds great texture and flavor. It’s a great way to customize your Chocolate Whoopie Pies with Marshmallow Filling Recipe to match your mood or occasion.
Final Thoughts
These Chocolate Whoopie Pies with Marshmallow Filling Recipe are one of those comforting desserts that bring pure joy with every bite. They’re simple enough for beginners but special enough to wow any crowd. I truly hope you give these little chocolate treats a try—you’ll find they quickly become a staple in your baking repertoire and a favorite for sharing with those you love!
Print
Chocolate Whoopie Pies with Marshmallow Filling Recipe
- Prep Time: 25 minutes
- Cook Time: 12 minutes
- Total Time: 45 minutes
- Yield: 12 whoopie pies
- Category: Dessert
- Method: Baking
- Cuisine: American
- Diet: Vegetarian
Description
Delightfully soft and cake-like chocolate whoopie pies filled with a creamy marshmallow buttercream filling, perfect for an indulgent American dessert treat.
Ingredients
For the cakes:
- 2 cups all-purpose flour
- 1/2 cup unsweetened cocoa powder
- 1 1/4 teaspoons baking soda
- 1/2 teaspoon salt
- 1 cup granulated sugar
- 1/2 cup unsalted butter, softened
- 1 large egg
- 1 teaspoon vanilla extract
- 1 cup buttermilk
For the filling:
- 1/2 cup unsalted butter, softened
- 1 cup powdered sugar
- 1 1/2 cups marshmallow creme (or fluff)
- 1 teaspoon vanilla extract
Instructions
- Preheat Oven and Prepare Baking Sheets: Preheat the oven to 350°F (175°C) and line two baking sheets with parchment paper to prevent sticking and facilitate even baking.
- Mix Dry Ingredients: In a medium bowl, whisk together the all-purpose flour, unsweetened cocoa powder, baking soda, and salt until well combined.
- Cream Butter and Sugar: In a large bowl, beat the granulated sugar and softened butter together until the mixture becomes light and fluffy, which ensures a tender cake texture.
- Add Egg and Vanilla: Incorporate the egg and vanilla extract into the butter-sugar mixture, mixing until smooth and fully combined to boost flavor and moisture.
- Combine Wet and Dry Ingredients: Alternately add the dry ingredient mixture and buttermilk to the wet mixture, starting and ending with the dry ingredients. Mix just until combined to maintain the batter’s light texture.
- Shape and Bake Cakes: Drop rounded tablespoons of batter onto the prepared baking sheets, spacing them about 2 inches apart for even expansion. Bake for 10–12 minutes, or until the cakes spring back when lightly touched, indicating doneness.
- Cool Cakes: Allow the cakes to cool on the baking sheet for a few minutes before transferring them to a wire rack to cool completely, preventing the filling from melting.
- Prepare Filling: Beat the softened butter until smooth, then gradually mix in the powdered sugar until the mixture is fluffy. Add the marshmallow creme and vanilla extract, beating until fully combined and creamy for a classic, sweet filling.
- Assemble Whoopie Pies: Spread or pipe the filling onto the flat side of half of the cooled cakes. Top with the remaining cakes to form sandwich-style whoopie pies, pressing gently to adhere.
Notes
- Store whoopie pies in an airtight container at room temperature for up to 3 days for best freshness.
- For longer shelf life, refrigerate the whoopie pies, but allow them to come to room temperature before serving.
- Customize the filling by adding peppermint extract or crushed cookies for a unique flavor twist.

