
If you have a sweet tooth that loves the rich romance of chocolate paired with the buttery, melt-in-your-mouth goodness of caramel, then you are absolutely going to adore this Chocolate Caramels Recipe. These luscious treats combine silky smooth caramel with the deep intensity of unsweetened chocolate, creating a perfect balance that feels both indulgent and comforting. Whether you’re gifting them, savoring them bite by bite, or sharing with friends, these caramels are a beautiful blend of simple ingredients turned into something magical and truly unforgettable.
Ingredients You’ll Need
Every ingredient in this Chocolate Caramels Recipe is chosen for its role in crafting that luxurious texture and rich flavor. From the creamy butter and heavy cream that provide smoothness to the robust bittersweet chocolate that cuts through sweetness, each component is essential in making these caramels truly shine.
- Unsalted butter (1 cup, plus more for buttering the pan): Adds rich creaminess and helps achieve the perfect texture without extra salt interfering.
- Heavy cream (1½ cups): Brings a luscious smoothness and depth to the caramel base.
- Corn syrup (1½ cups): Prevents crystallization and keeps the caramel beautifully glossy and soft.
- Granulated sugar (2 cups): The backbone of caramel flavor, providing sweetness and structure.
- Unsweetened chocolate baking bar (4 ounces, roughly chopped): Imparts intensity and balances the sweetness with bittersweet notes.
- Pure vanilla extract (2 teaspoons): Elevates the overall flavor with a warm, inviting aroma.
- Chopped roasted & salted nuts (1½ cups, optional): Adds a delightful crunch and salty contrast if you love texture in your candies.
How to Make Chocolate Caramels Recipe
Step 1: Prepare Your Pan
Start by generously buttering a 9″ by 13″ pan. This step is crucial because it ensures that the caramel won’t stick, making it easier to cut and serve later. Set it aside while you work on your caramel mixture. Having everything ready upfront will keep your process smooth and stress-free.
Step 2: Combine and Heat Ingredients
In a medium, heavy-bottomed saucepan, combine the butter, heavy cream, corn syrup, granulated sugar, and chopped unsweetened chocolate. Use medium to medium-high heat to gently melt everything together. Stir carefully but consistently to help the ingredients blend into a silky mixture. Once fully melted, attach a candy thermometer — this tool is essential to get the temperature just right and avoid any caramel disasters.
Step 3: Cook to Perfect Temperature
Keep stirring gently until the mixture reaches exactly 240 degrees Fahrenheit. This temperature is known as the soft-ball stage and is the sweet spot for chewy, perfectly textured caramels. Once it hits 240°F, quickly remove the pan from the heat. Time is of the essence here to prevent burning or overcooking.
Step 4: Add Flavor and Mix-ins
While the pan is off the heat, stir in the pure vanilla extract to add warmth and complexity. If you’re adding nuts, fold them in now; the toasted crunch combined with the saltiness will elevate your caramels to another level. After mixing, immediately pour the caramel into your buttered pan and spread it out evenly.
Step 5: Cool and Cut
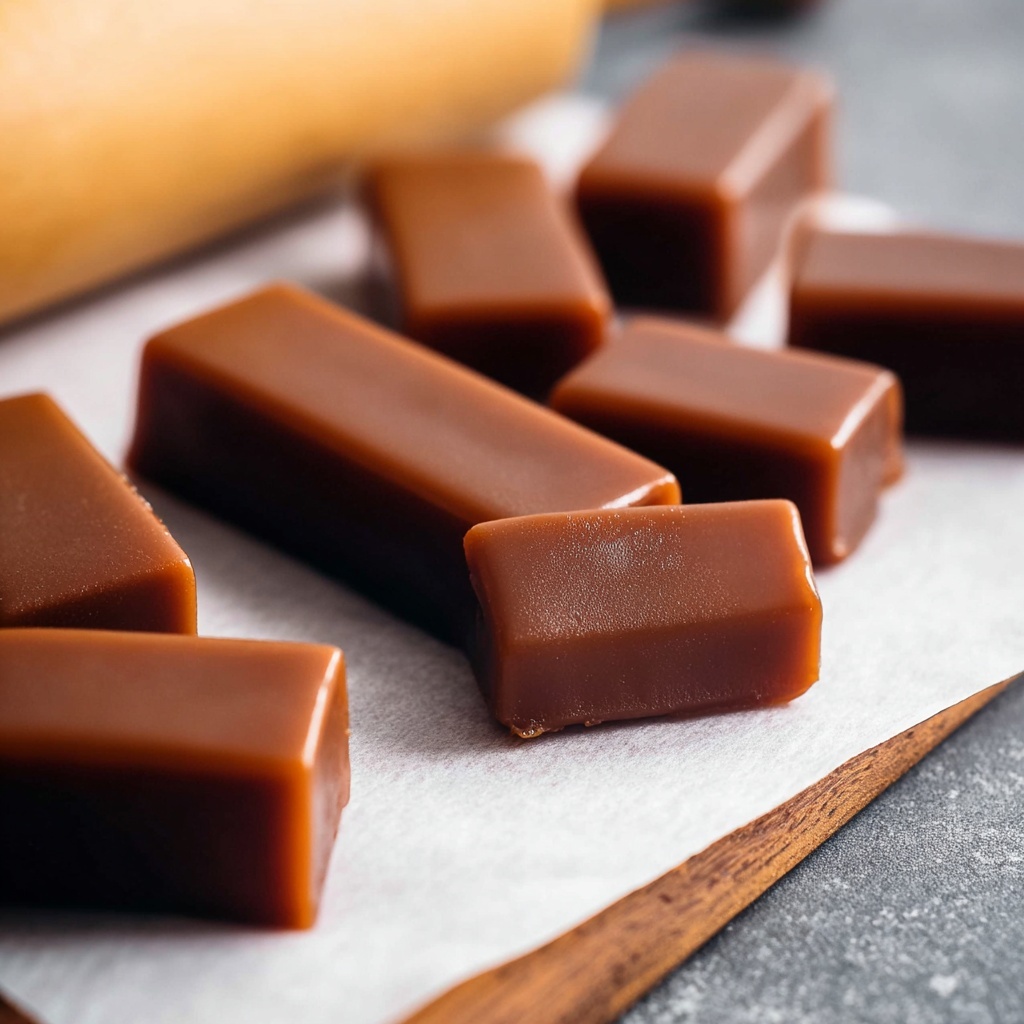
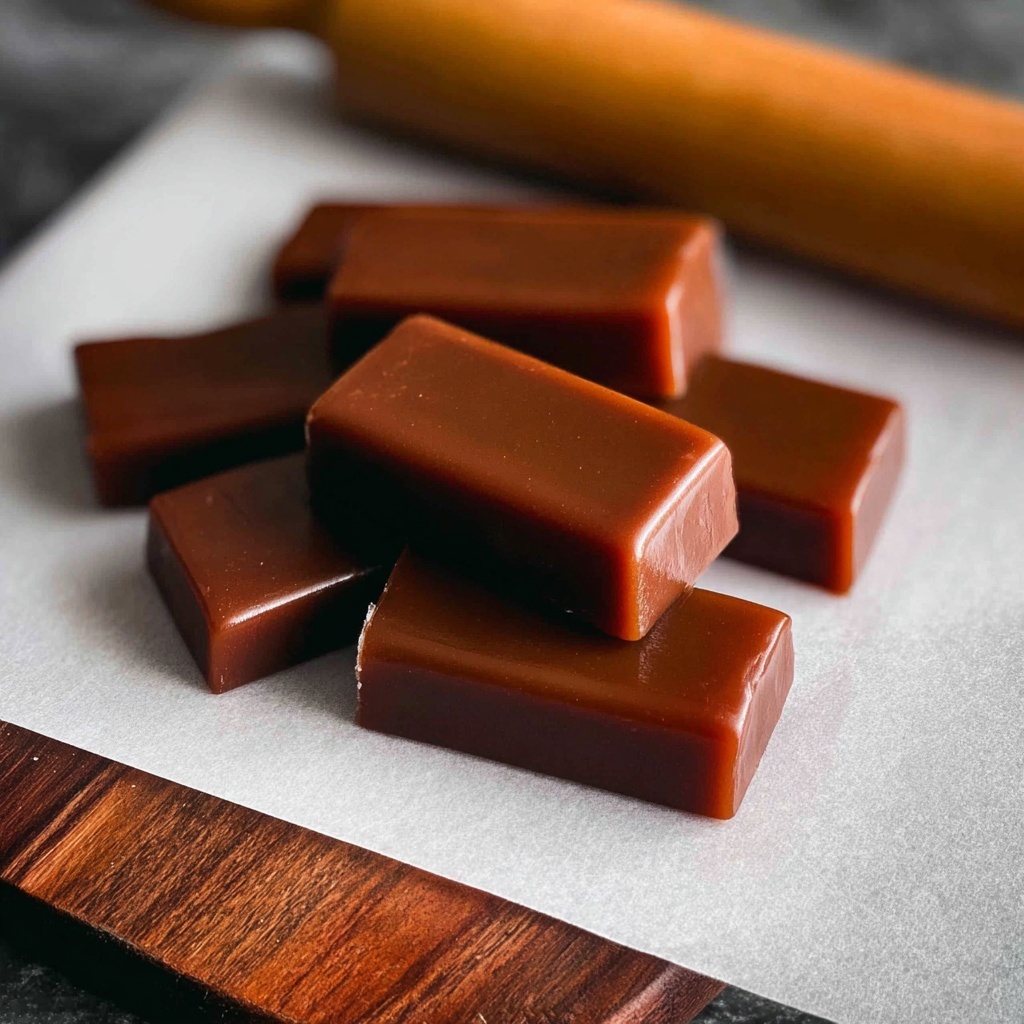
Now comes the hardest part – waiting. Let the caramel cool to room temperature to set fully. When it’s firm but still tender, use a long, sharp, non-serrated knife to cut into your preferred sizes. Wipe your knife between cuts to ensure clean edges. I love cutting mine into slender rectangles around ¾ by 1¾ inches, but squares or bite-sized pieces work just as well!
How to Serve Chocolate Caramels Recipe
Garnishes
While these caramels are stunning as is, a light sprinkle of flaky sea salt on top before they set adds a delightful, finishing touch. It enhances the chocolate and caramel flavors without overwhelming them. You can also dust them lightly with cocoa powder for an elegant, rich exterior that tastes like velvet.
Side Dishes
Chocolate caramels are a versatile treat to enjoy on their own, but pairing them with a bold cup of coffee or a creamy hot chocolate creates an irresistible dessert experience. If you’re serving a crowd, consider a cheese board with mild cheeses and nuts to complement the sweet and salty notes.
Creative Ways to Present
Wrap individual pieces in wax paper twisted at the ends for charming homemade gifts or party favors. For a stunning display, arrange them in a glass jar layered with parchment paper ribbons or nestled in decorative tins. These presentation ideas bring an extra sprinkle of joy to sharing your Chocolate Caramels Recipe with loved ones.
Make Ahead and Storage
Storing Leftovers
Store your caramels in an airtight container at room temperature for up to two weeks. Place parchment paper sheets between layers to prevent sticking. This keeps the texture soft and the flavors lively, so each bite feels freshly made.
Freezing
If you want to keep these treats longer, freeze the wrapped caramels in a freezer-safe container. They’ll keep well for about three months. Thaw them at room temperature before serving to maintain that perfect chewy texture.
Reheating
While caramels are best enjoyed at room temperature, if they grow too firm, you can warm them gently in your hands or briefly in a microwave on low power for a few seconds. Just be careful not to overheat or melt them completely.
FAQs
Can I use salted butter in this Chocolate Caramels Recipe?
It’s best to use unsalted butter so you can control the saltiness in your caramels. Using salted butter can make your caramels too salty, especially if you’re adding salted nuts.
What if I don’t have a candy thermometer?
A candy thermometer ensures precision, but if you don’t have one, you can test the caramel by dropping a small bit into cold water – it should form a soft ball that holds its shape but is still pliable. However, investing in a thermometer will yield more consistent results.
Can I substitute the nuts with something else?
Absolutely! Feel free to experiment with dried fruit, toffee bits, or even espresso nibs for interesting texture and flavor contrasts. Just fold in your mix-ins at the end off the heat, as directed.
How long will the caramels stay fresh?
Properly stored in an airtight container, your chocolate caramels will stay fresh and tasty for up to two weeks at room temperature, and longer if frozen.
Are these caramels very sweet?
They strike a lovely balance between rich caramel sweetness and bittersweet chocolate deep notes. If you prefer less sweet treats, adding more unsweetened chocolate or a pinch of sea salt can tame the sweetness without losing that classic caramel charm.
Final Thoughts
There is something truly special about homemade caramels, especially when infused with chocolate and vanilla in this delightful Chocolate Caramels Recipe. Crafting these beauties is both a rewarding and fun experience that fills your kitchen with incredible aromas and your heart with joy. I encourage you to gather these simple ingredients and indulge in making a batch – your friends and family will thank you, and you’ll find yourself coming back to this recipe again and again for comfort and celebration alike.
Print
Chocolate Caramels Recipe
- Prep Time: 10 minutes
- Cook Time: 25 minutes
- Total Time: 35 minutes
- Yield: 48 pieces
- Category: Candy
- Method: Stovetop
- Cuisine: American
Description
Rich and creamy homemade Chocolate Caramels that combine buttery sweetness with deep chocolate flavor. These delightful treats are smooth, chewy, and perfect for candy lovers looking for a decadent dessert. Optional roasted and salted nuts add a delightful crunch and balance the sweetness.
Ingredients
Main Ingredients
- 1 cup unsalted butter, plus more for buttering the pan
- 1½ cups heavy cream
- 1½ cups corn syrup
- 2 cups granulated sugar
- 4 ounces unsweetened chocolate baking bar, roughly chopped
- 2 teaspoons pure vanilla extract
Optional
- 1½ cups chopped roasted & salted nuts
Instructions
- Prepare the pan: Generously butter a 9″ x 13″ pan to prevent the caramel from sticking. Set the pan aside while you prepare the caramel mixture.
- Combine ingredients and melt: In a heavy-bottomed medium saucepan over medium to medium-high heat, stir together the butter, heavy cream, corn syrup, granulated sugar, and chopped unsweetened chocolate. Stir gently and constantly to ensure even melting and prevent burning until fully combined and melted.
- Cook to temperature: Attach a candy or kitchen thermometer to the saucepan to monitor the temperature. Continue stirring gently and quite constantly until the mixture reaches 240°F (115°C), the soft-ball stage necessary for chewy caramels. Once reached, quickly remove the saucepan from heat to prevent overcooking.
- Add vanilla and nuts: Off the heat, stir in the pure vanilla extract for enhanced flavor. If using, fold in the chopped roasted and salted nuts thoroughly.
- Pour and cool: Pour the caramel mixture into the prepared buttered pan, spreading it evenly. Allow the caramel to cool completely to room temperature to set properly and firm up for cutting.
- Cut the caramels: Using a long, sharp, non-serrated knife, cut the caramel into pieces. For clean cuts, wipe the knife blade clean between each cut. You can cut into traditional sizes such as 0.75″ x 1.75″ pieces or 1″ x 1″ squares, or any size you prefer.
Notes
- Use a candy thermometer to ensure the caramel reaches the precise temperature for optimal texture.
- Butter the pan generously to make removing the caramel easier and prevent sticking.
- For chewier caramels, do not overcook past 240°F; overcooking will make them hard.
- Chopped roasted and salted nuts are optional but add a delightful texture and flavor contrast.
- Store caramels in an airtight container at room temperature for up to two weeks.
- For easier cutting, allow the caramel to cool completely and use a sharp, non-serrated knife wiped clean between cuts.

